
CASTING DIRECTORS: How do I create a new project?
This article is for Casting Directors using Casting Networks. It explains how to create a new project, set up your project details.

Creating a New Project
How do I start a new project?
Log in to your Casting Networks account at castingnetworks.com.
From the top navigation, click Projects Lists.
Click the + New Project button (typically located in the upper right area of the Projects page), then select Create Project from the dropdown options.
The Create New Project form will open and you will be required to enter the following information.
General Project Information
The Following Information will be required for each project added to the platform.
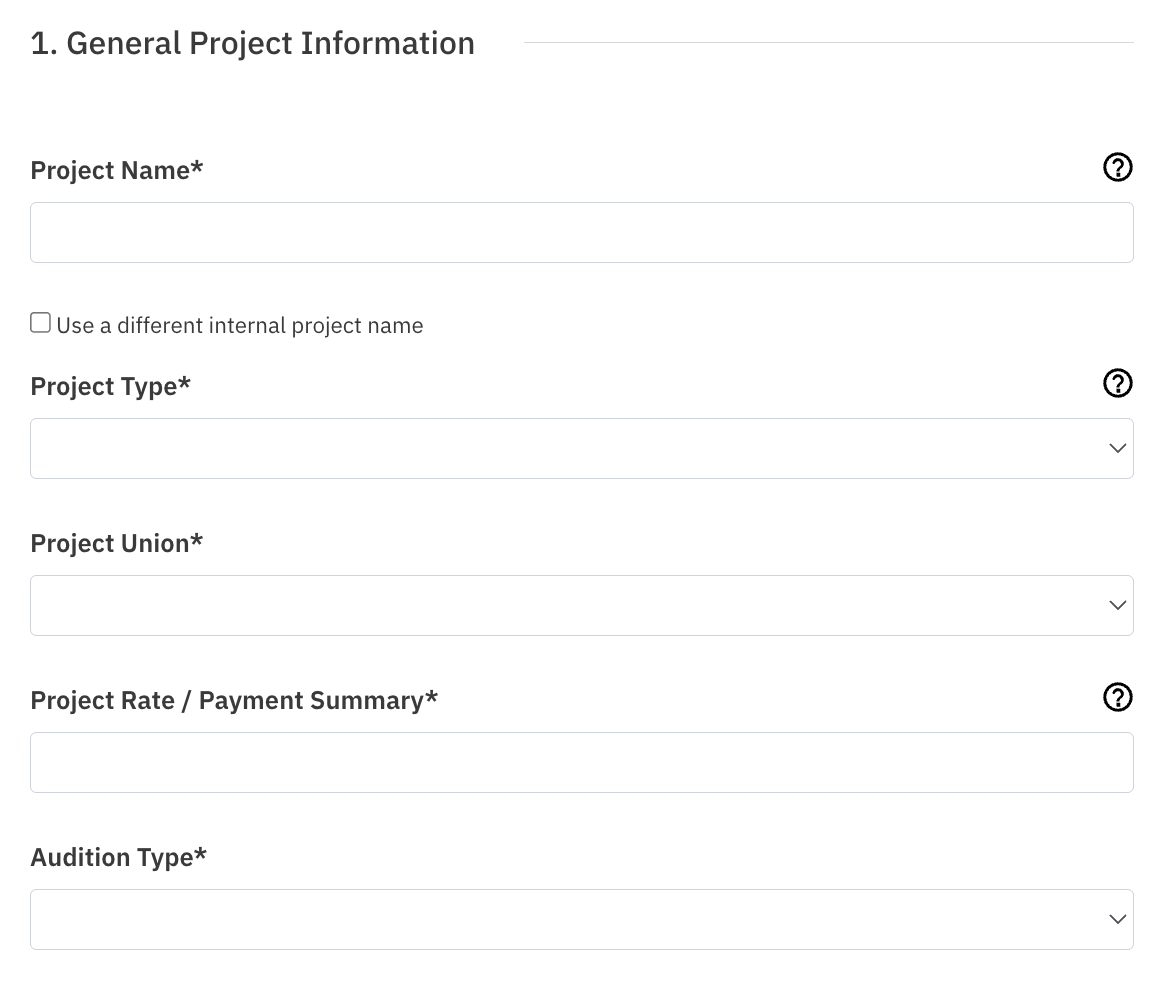
Project Name - Enter a project name in the provided field. This name will be visible to users whom you publish the project to.
Working Title (Optional) - If you want to use a working title externally, add the working title in the Project Name section, then select the checkbox below Use a different internal project name. You will then be required to enter another project title for your internal use.
Project Type - In the Project Type dropdown, select your project type. Each project type has unique form fields.
Project Union - Select the Project Union.
If the project is not affiliated with a union, you can select No Union Affiliation.
If you select a specific union, you may be given the option to choose the specific Contract Type from an additional dropdown menu.
Project Rate / Payment Summary - Fill in the project rate or payment summary. If you wish to not disclose, you can list this as TBD or something similar.
Audition Type - Lastly in this section, select the Audition Type from the dropdown options. Indicate whether auditions will be held in-person, via self-tape, virtually (video call), or a combination of formats.
Casting Contact Information
This section is optional and some fields will be autofilled by your company account information.
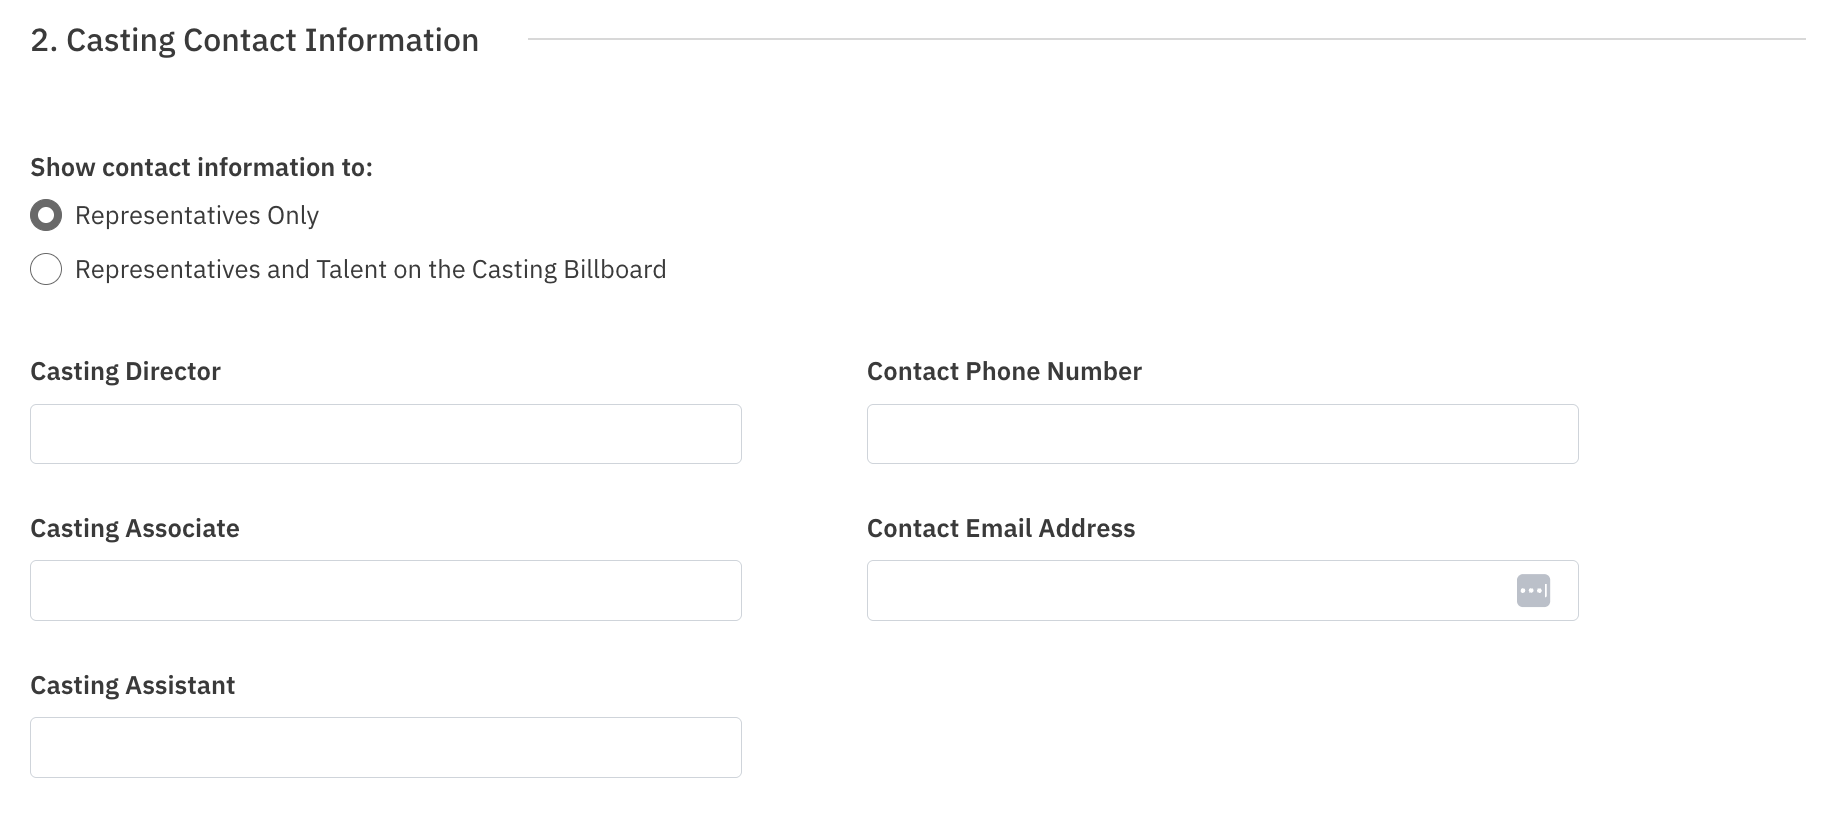
Show Contact Information To: Representatives Only (default)
Company Main Contact Information Including:
Casting Director Name
Contact Phone Number
Contact Email Address
You can change who is seeing the contact information to Representatives and public to Talent on the Casting Billboard. If you do not want this information visible, you can clear these fields.
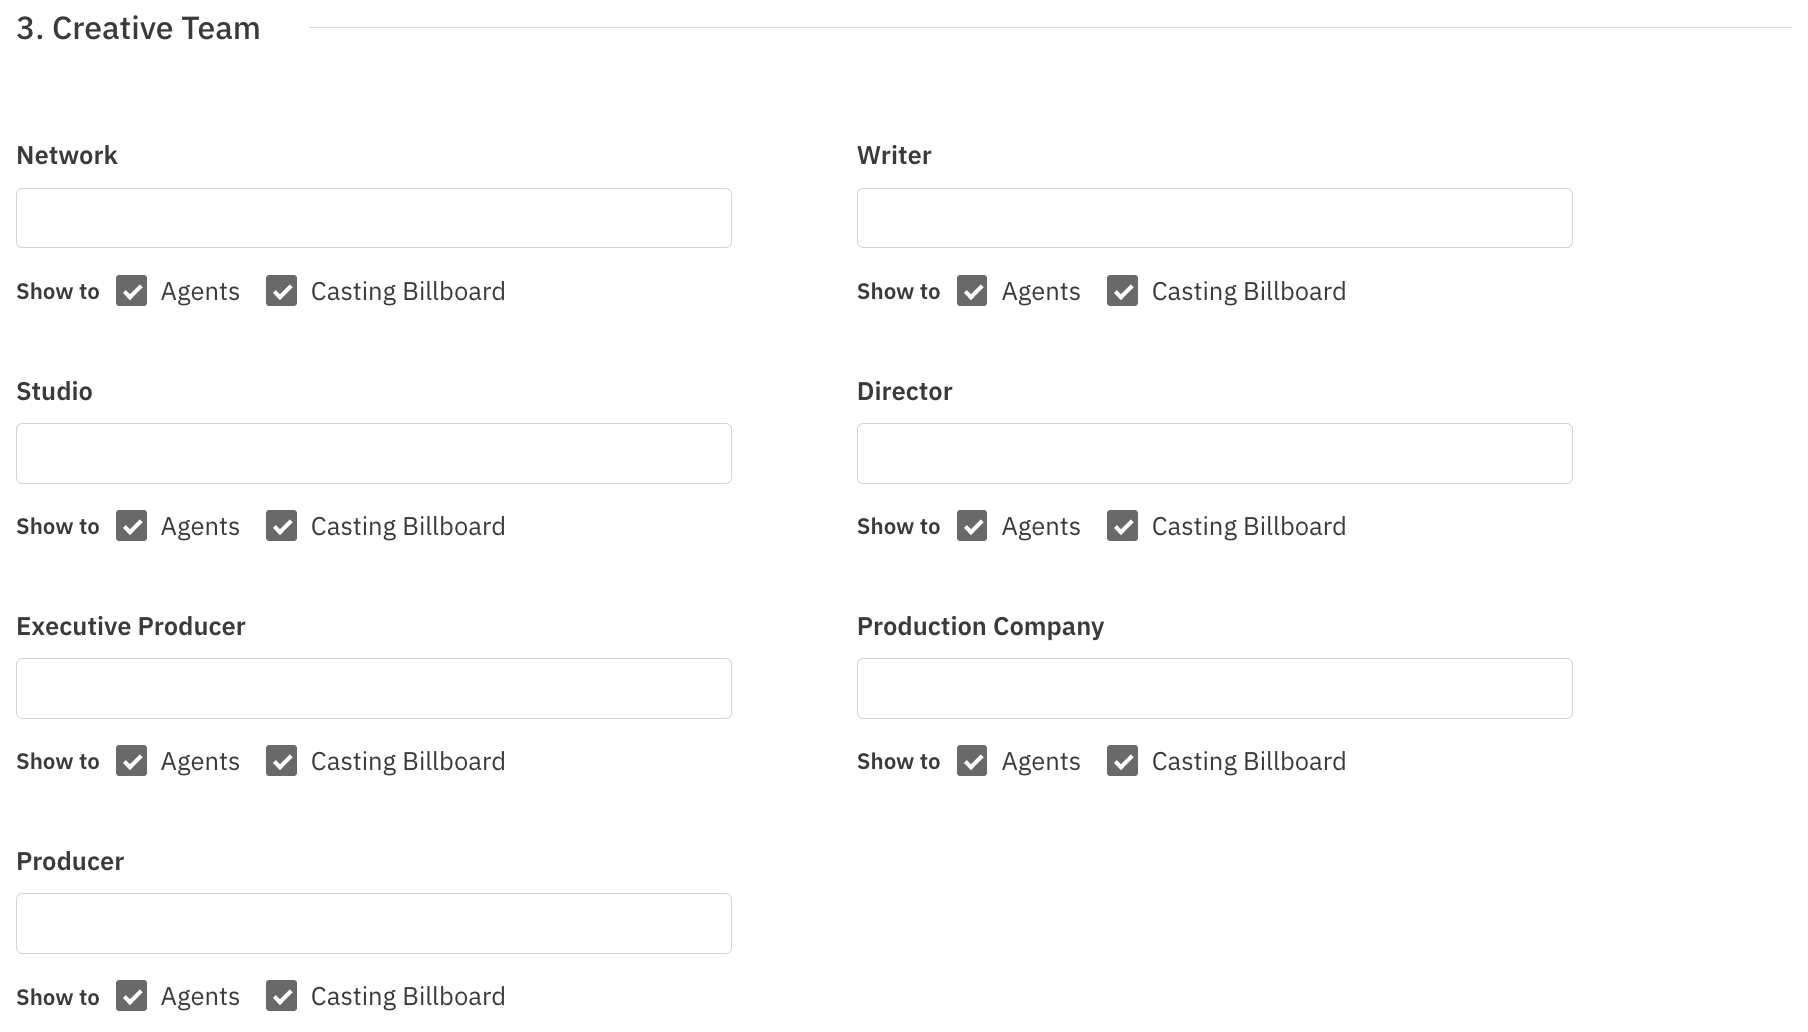
Creative Team
The Creative Team section of your project setup is where you can document the key decision-makers and creatives attached to your project. Having this information gives agents and managers helpful context when reviewing your breakdowns.
This is an optional section.
If you wish to add creative team details, you can also control who sees this information by selecting either Agents Only and/or Talent on Casting Billboard.
Project Audition Information
The Project Audition Information section allows you to set the details for how and where auditions will take place for your project. The audition information entered here will automatically be applied to every role added to the project but can always be updated individually in each role. This section is entirely optional.
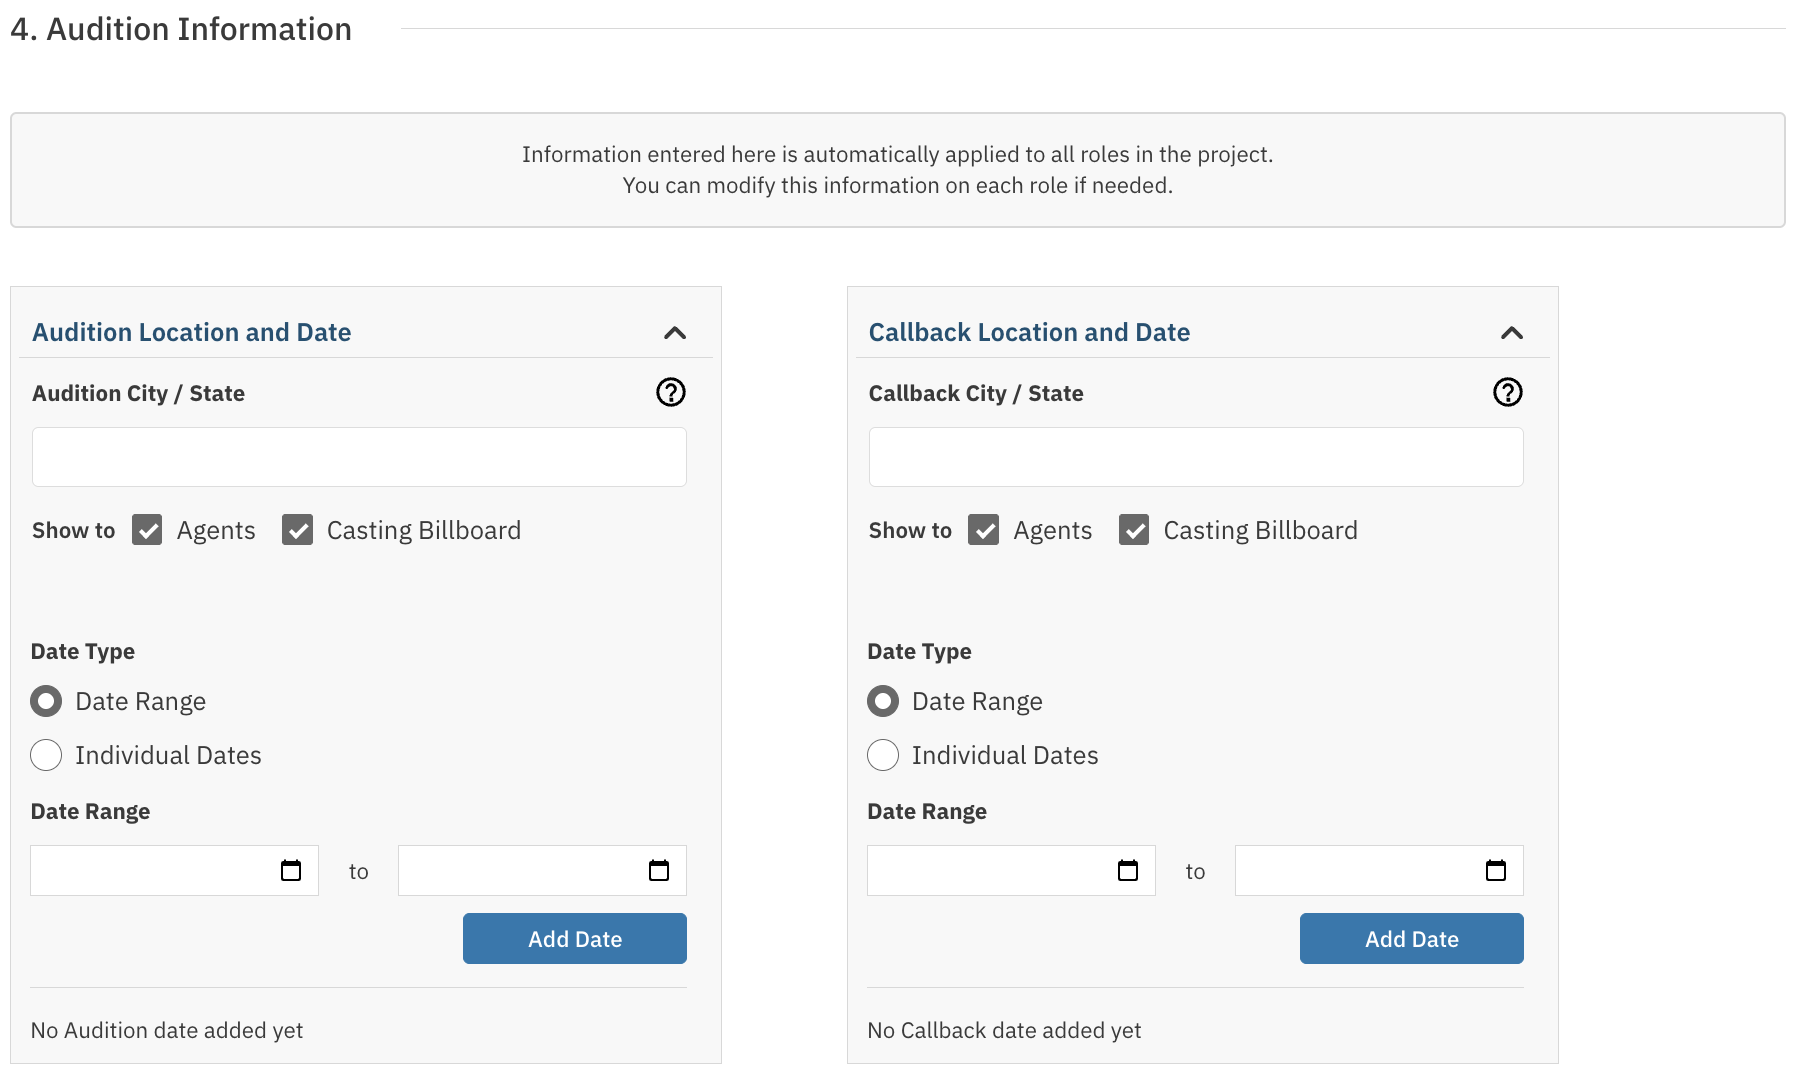
Audition Location - The address or venue where in-person auditions will be held, if applicable.
Audition Dates - The date or date range during which auditions are scheduled to take place.
Callback Information - If callbacks are planned, note the expected callback dates and format here.
Special Instructions - Any specific directions for talent attending auditions, such as what to prepare, what to wear, parking information, or check-in procedures.
Work Information
This section is where you will add all of the working details of the production. This helps ensure that talent, agents, and managers have a clear picture of what the job entails before submitting. The working information entered here will automatically be applied to every role added to the project but can always be updated individually in each role. This section is also entirely optional.
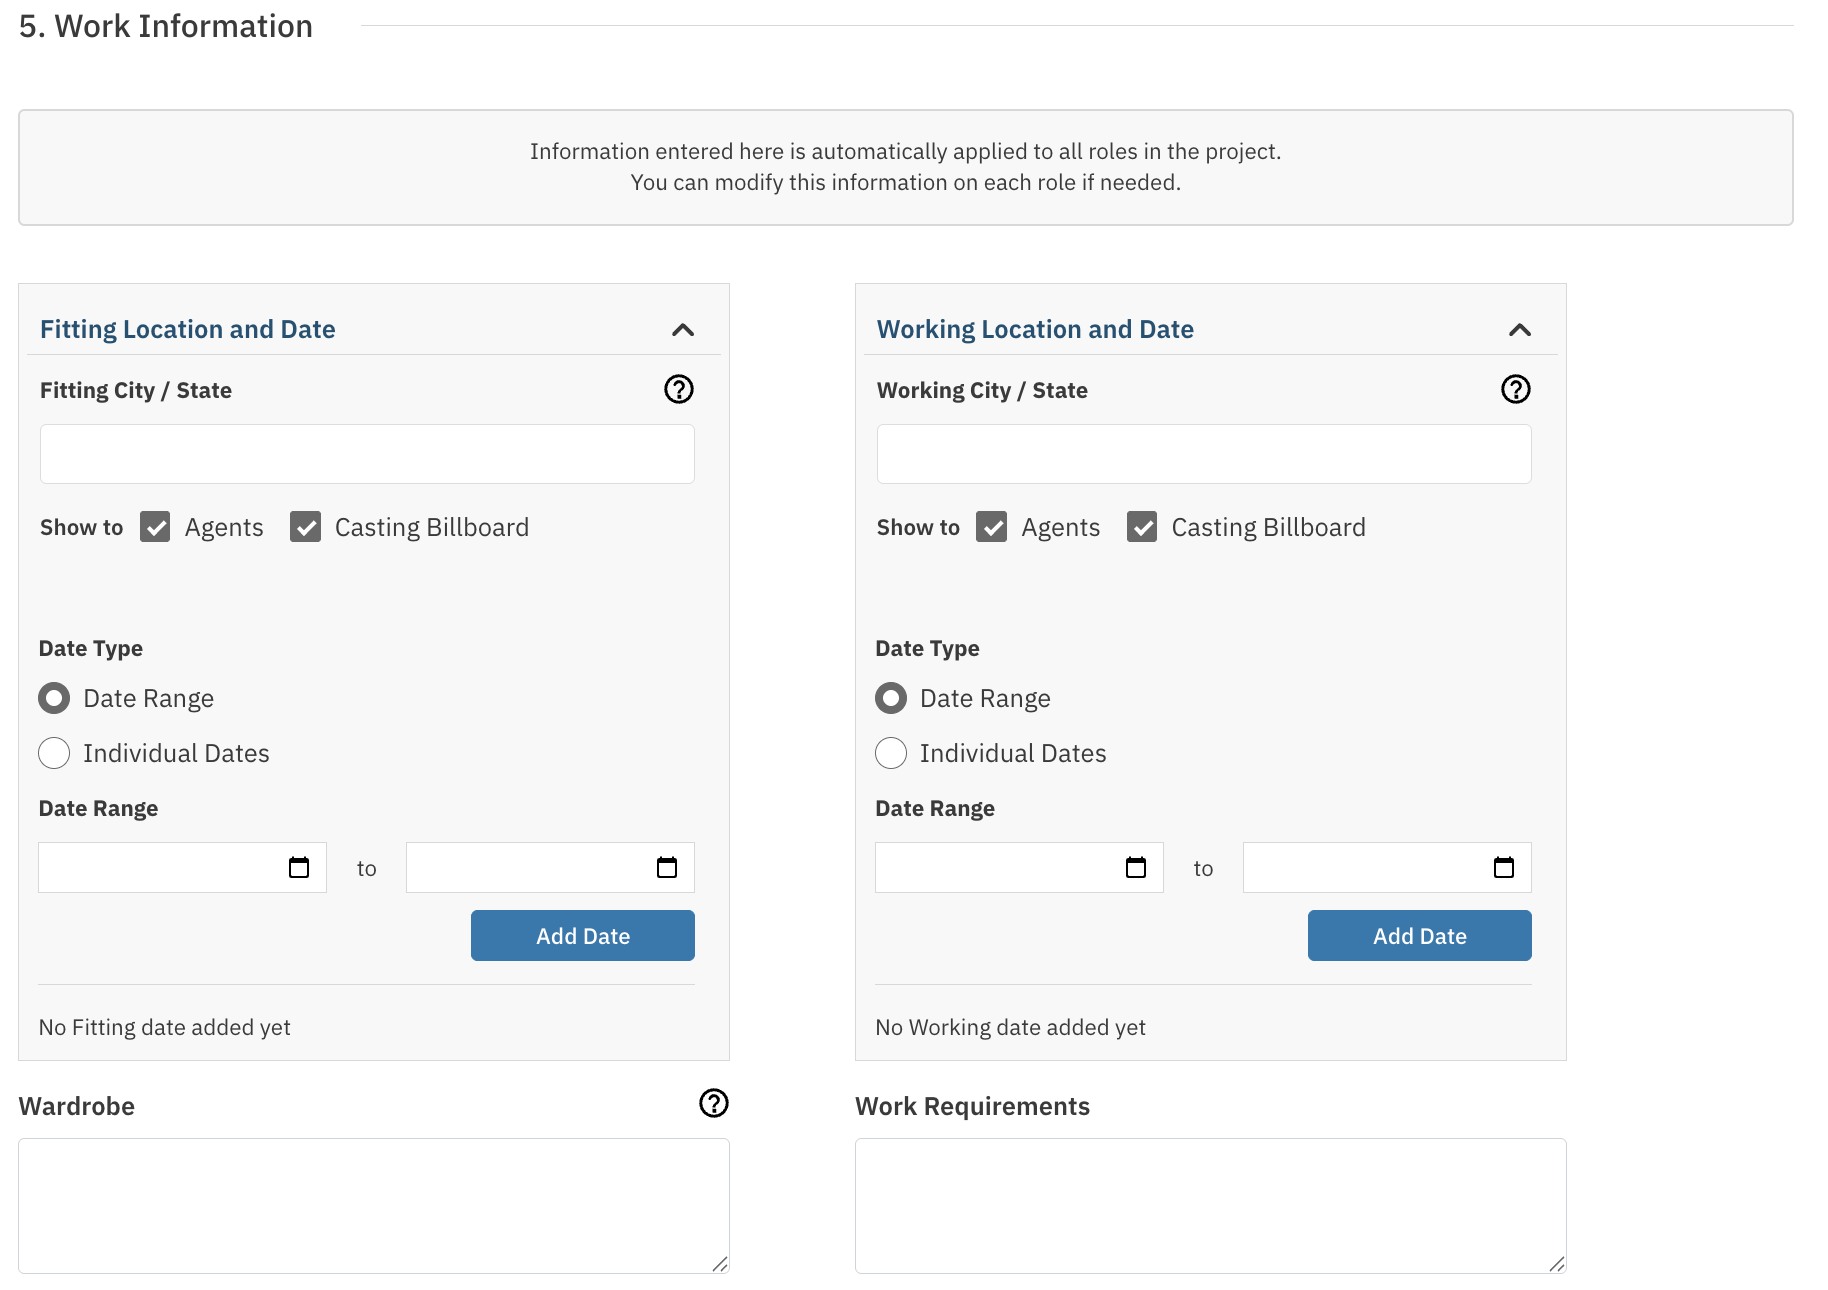
Fitting Location - The city, state, or country where the project is shooting.
Fitting Dates - The expected start and end dates for filming. You can list a range or individual dates.
Filming Location - The city, state, or country where the project is shooting.
Filming Dates - The expected start and end dates for filming. You can list a range or individual dates.
Wardrobe - Is there anything specific talent should wear or bring to fitting, audition, or shoot?
Work Requirements - Additional information regarding what is required to work, such as VISA or Passport.
Publication Settings
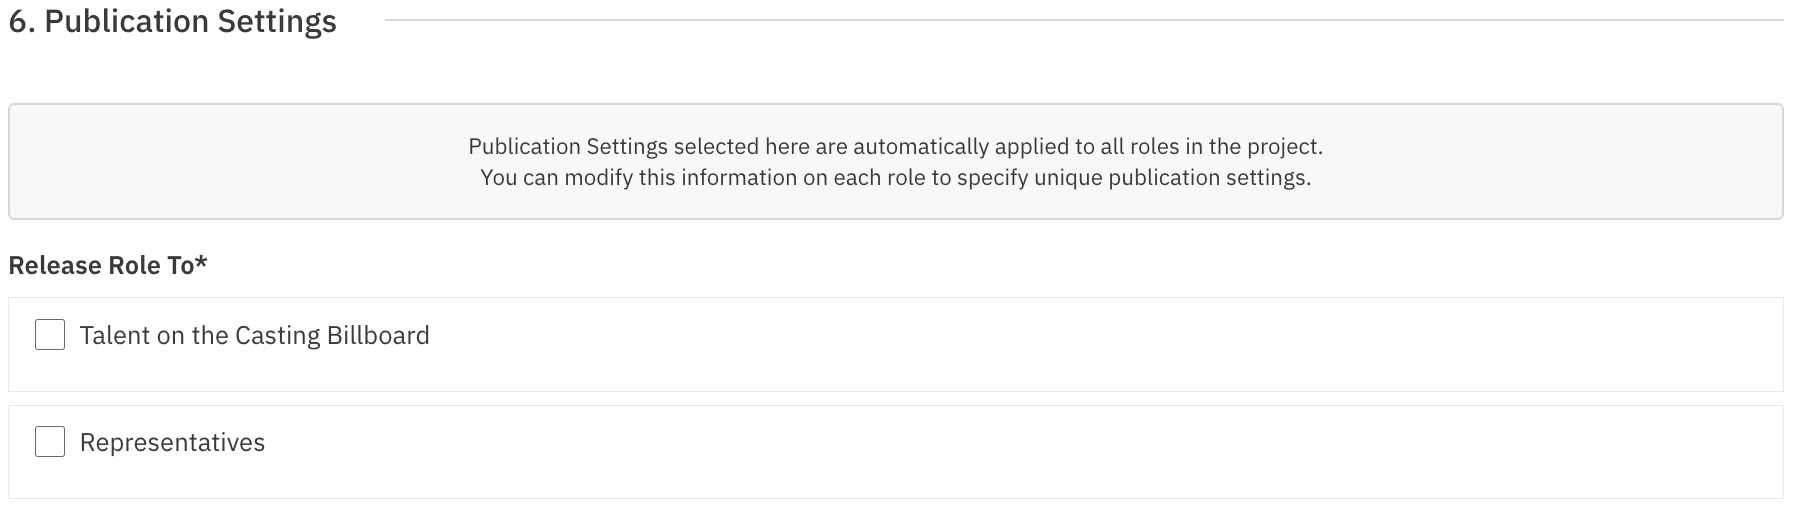
The Publication Settings section is where you configure who will have access to view and submit to your project once it is published. This is where you decide whether to publish to talent representatives, make the project visible to talent directly on the Casting Billboard, or both
Keep in mind - No publication occurs here. Actual publication happens when you choose to publish from the main project overview page. Think of this section as setting your preferences ahead of time so everything is ready to go when you are.
Here are a few important things to know:
At least one rep must be selected, even if you do not plan to publish right away or at all. This is required to complete the project setup. You can always choose not to publish when you get to the project overview page.
Talent on Casting Billboard is an optional visibility setting. Selecting this makes your project visible to talent directly.
Settings apply to all roles. Whatever you select here is automatically applied across every role in the project. If you need different publication settings for a specific role, you can adjust those settings at the individual role level.
To learn more about filtering which representatives receive your project, see here.
Additional Details
The Additional Details section is a space to include any extra information about your project that does not fit into the other setup fields. Use this area to give agents, managers, and talent a fuller picture of your production.
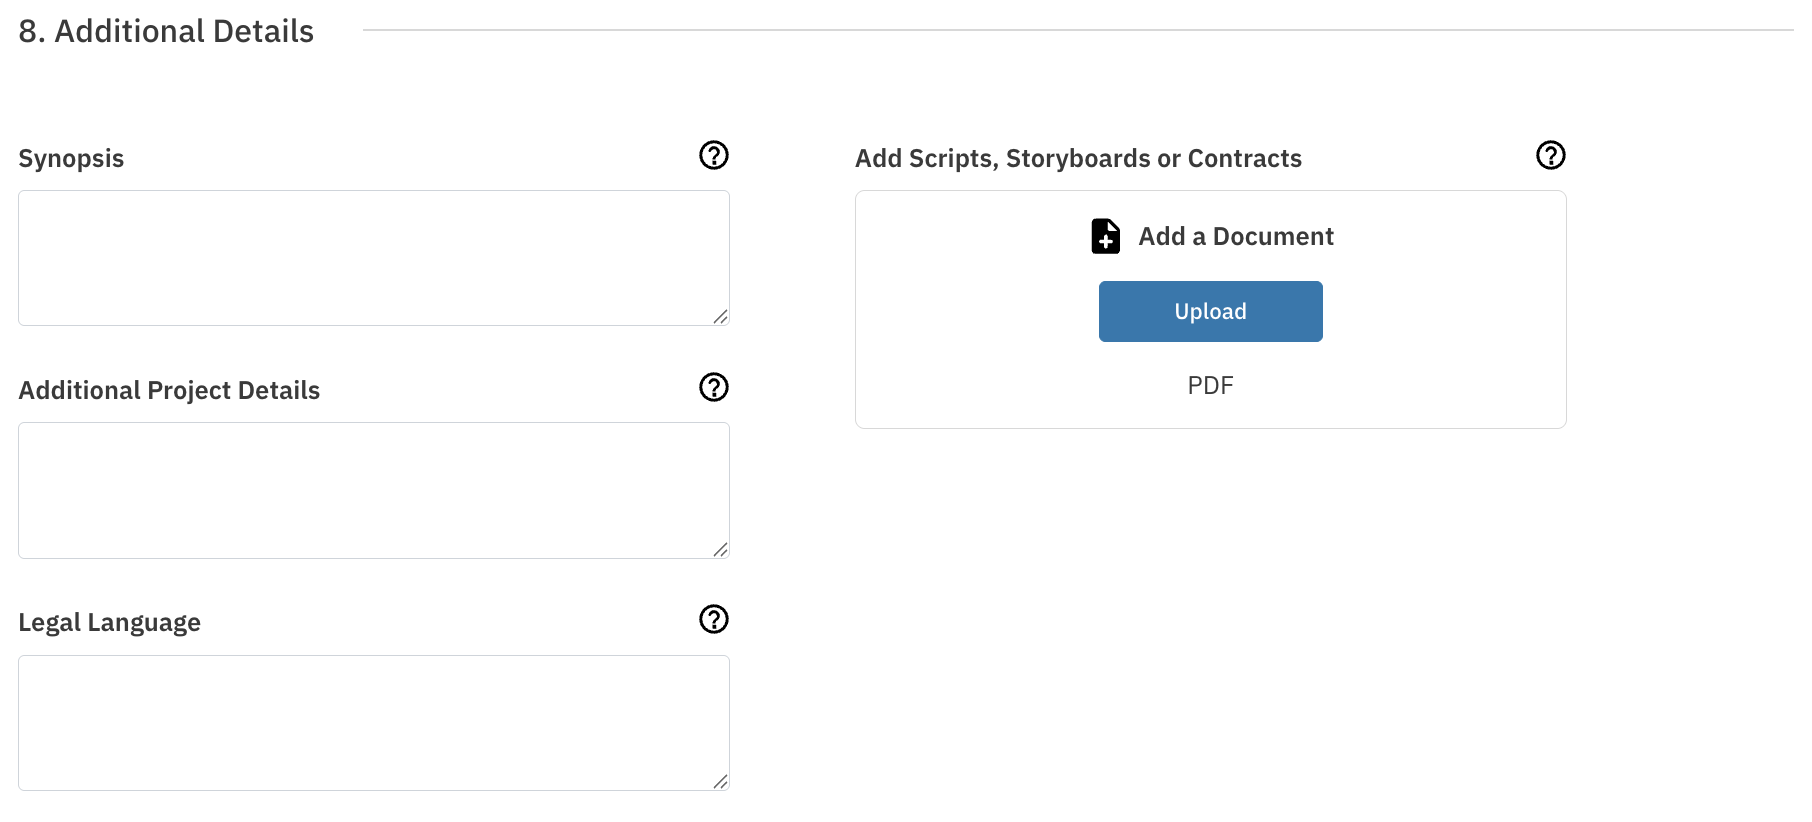
Synopsis - A brief outline for the film or project. This is a great place to give context about the story, tone, or genre.
Additional Project Details - Any additional context relevant to the casting process. This might include special considerations, sensitivities, or casting priorities specific to this project.
Attachments - Upload any supporting documents relevant to the project, such as a script, sides, character breakdowns, or a one-pager. You will be able to add specific role sides to each role when you add roles.
Legal Language - This optional field allows you to include compliance-related text, legal requirements, or contractual language that will be displayed to anyone viewing your project — including talent, representatives, and the public.
When you have added all of the project information, you can select Save Project and Add Role in the bottom right footer of the page.

Next you will want to add Roles to your Project - See how to Add Roles here.
How to Edit a Project
You can edit your project at any time - even after the project is published.
Navigate to your Project List by selecting Project List in the top navigation bar.

Click on the project title of the project you want to edit.
Once the project is open, select the overflow menu to the top right of the project title.
Select Edit Project.
From there you can edit any information in the project.
Finally, select Save before navigating away from the page.

FAQs
Do I have to fill out every section when creating a project?
No. Many sections are optional, including Casting Contact Information, Creative Team, Project Audition Information, Work Information, and Additional Details. Only the General Project Information section and at least on representative selected in Publication settings are required.
Can I change my publication settings after I create a project?
Yes. You can edit your project at any time, including publication settings, by following the steps in the How to Edit a Project section above or Individually on each role.
What if I do not know all the audition or work details yet?
You can leave the Project Audition Information and Work Information sections blank and fill them in later when you edit the project or update each role individually.
Why do I need to select at least one representative in Publication Settings?
Selecting at least one representative is required to complete the project setup, even if you do not plan to publish right away. You can always choose not to publish when you get to the project overview page.
Can talent see my project before I publish it?
No. Talent and representatives will only see your project once you choose to publish it from the main project overview page. The Publication Settings section only configures who will have access when you do publish.