
TALENT REPRESENTATIVE: What tips can I share with my talent for using Casting Networks?
This article is for Talent Representatives on Casting Networks. It provides a collection of guides and instructions that you can share with your talent to help them claim their accounts, log in, accept representation invitations, and manage their profiles on the new Casting Networks platform.
How to accept an invitation to join the roster of your new representation
I already have a Casting Networks account and need to add new representation
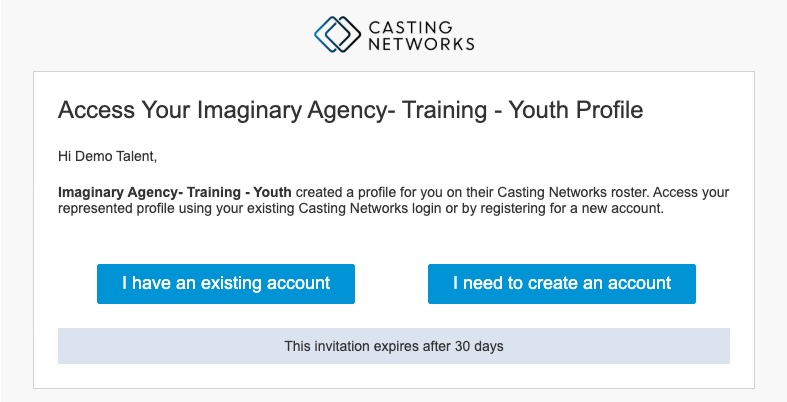
If you already have a Casting Networks account;
Select the I have an existing account button in your email invite.
Log into your account with your email address and password.
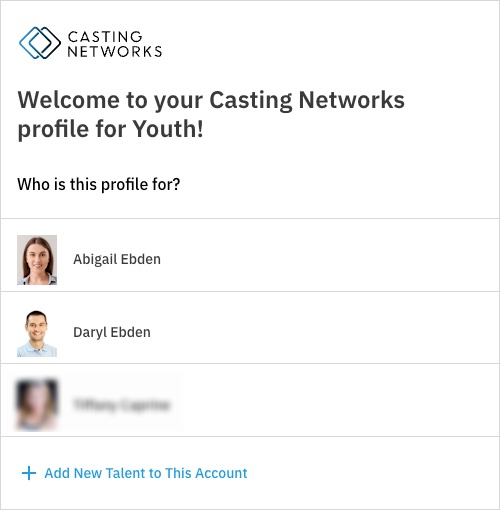
Choose which talent this new profile is for.
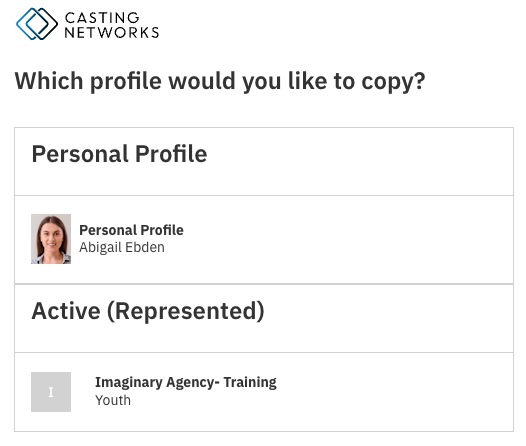
Copy information from an existing profile information to your new profile. Any media you have in your Media Bank can be shared across your profiles.

Choose which profile you'd like to copy to your new profile.
Enter in an email address you'd like your new talent representative to contact you at; then click Create Profile.
You are able to choose which photos and video/audio clips are visible on this new profile by going to your media bank.
I am new to Casting Networks (I do not have an account) and need to add my new representation
If you do NOT already have a Casting Networks account
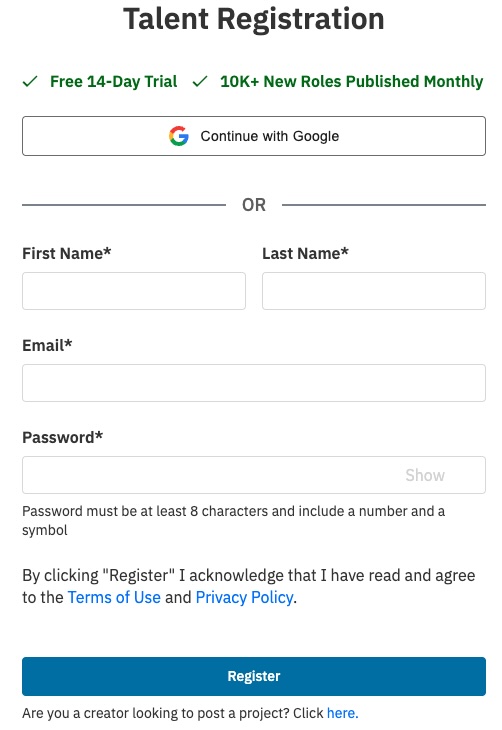
Select the I need to create an account button in your email invite.

Fill out our Registration page. When complete, click Register.
A verification email will be sent to the email address entered. Enter the verification code.
Once verified, click Continue.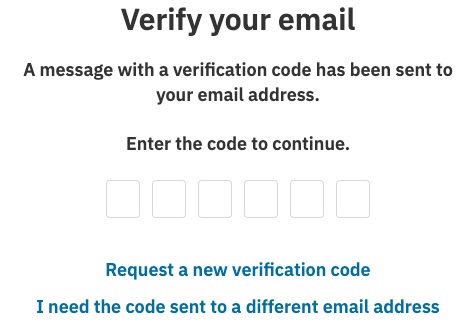
Follow the prompts to complete setting up your account. You will be required to enter in:
Stage name
Playable age range
Primary working location
Primary ethnic appearance
Roles interested in portraying (Man, Woman, Non-Binary Person)
Click Create Profile.
Sign up for the free trial of Premium Membership.
All new accounts are required to sign up for a free trial of the Premium Membership. You will be prompted to enter payment info, but you will not yet be charged. You will be able to explore the benefits of Premium Membership free of charge. You may cancel at any point within the trial period to be moved to a free membership.Upload a primary photo, video reel, and audio reel.
All new accounts receive 2 free photo credits, 1 video, and 1 audio. These photo credits can not be changed out. If you do not upload media here, you will be able to upload media later.You should now be logged into your Casting Networks account! Toggle between your profile with representation and personal profile by clicking the drop down on the Your Profile page.
How to access an audition request
Once logged into your account, go to the My Alerts tab.

Click on the audition request you are looking to access.
You can either Confirm, Reschedule, or Decline an audition request.
If you need to reschedule or decline a request, you must leave a note for your talent representative.
When ready, select Submit Response.

Please Note: If you are not receiving audition requests via email, in your Alerts in your account, or receiving a 404 error, you may not yet have added your profile to your account, please reach out to our support team for assistance with this.
How to respond to a media request (self-tapes)
PLEASE NOTE: Once you've sent your response, you will not be able to edit/add/change anything on the response (this includes the files you send in your response).
Once logged into your account, go to the My Alerts tab.
Click on the media request you are looking to access.
Click on the corresponding buttons to either upload a file from your device or add media from your media bank:
Attach Photo
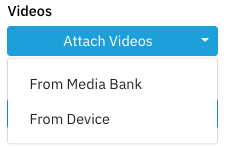
Attach Video
Attach Audio
Attach Document
Choose to attach media from your Media Bank or upload new media (From Device). Please note: If you upload new media for a media request, it will not appear in Your account Media.
If you choose to upload media (From Device) for the request, click Browse to browse files on your device.
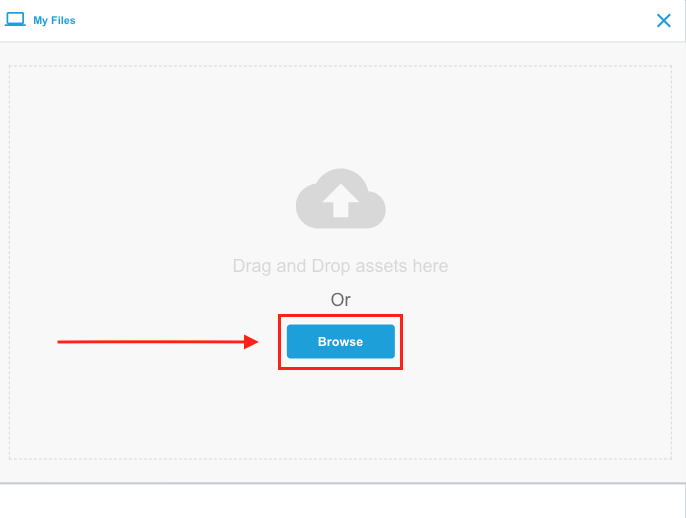
Select a file on your device; when the file is uploaded, it will automatically attach to the request.
You are able to rename the video once uploaded by clicking on the Rename button at the bottom of the media.
You can attach a maximum number of 10 media clips or photos to any request.
There may be instructions from a casting director asking for a specific number of clips or photos, so make sure to look at the notes on any request.
If you need to delete the video from the request, click on the three dots to the right of the video and select Delete.
Add a note for your talent representative (optional).
When ready, select Send Response.
PLEASE NOTE: Once you've sent your response, you will not be able to edit/add/change anything on the response (this includes the file you send in your response).
FAQ's
What is "Your Media?"
Your Media is where all of your photos, videos and audio clips are stored. You can find this by clicking Your Media in the global navigation bar.
In Your Media, you can upload, hide, edit, and delete your photos, media, and audio clips. You can also see which of your profiles currently displays your media.
Please note, for each upload:
The maximum photo file size is 30 MB and photos should be a minimum of 360 x 360px.
The maximum video file size is 600 MB.
The maximum audio file size is 50 MB.