
CASTING DIRECTORS: What are Sessions and How Do I Manage Media Within One?
This article explains the purpose of the Sessions tab, how to upload and rename media, and what tracking information is available to ensure you are managing your project content effectively.

Overview of Sessions
The Sessions area is your central hub for all project media. It serves as the library for everything associated with your project, it brings Groups, Media, and Talent into a single, consolidated view so don't need to navigate between separate pages.
In this tab, you are able to:
View all audition footage uploaded to a project
Add new audition media directly to a project, including video, audio, or photos
Manage groups, talent, snapshots, and session settings all in one place
Where to find Sessions
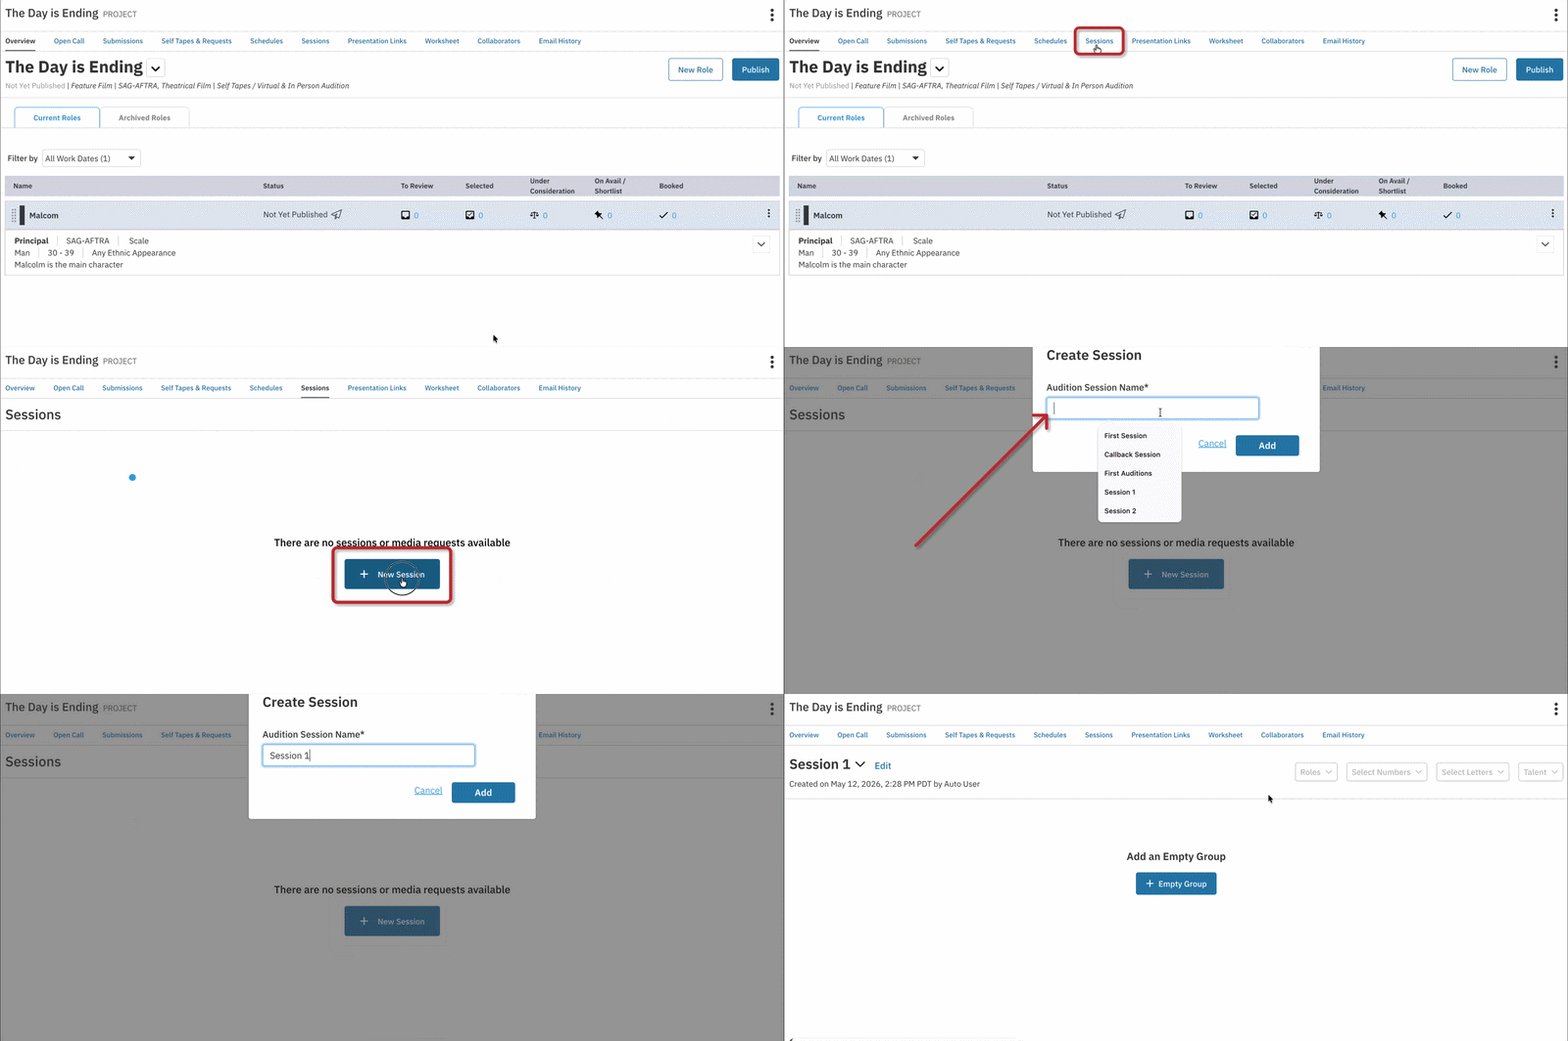
Open the project you want to work in.
Select the Sessions tab from the project navigation menu.

Creating a New Session
When working in your project, you can set up a new session to start managing audition media.
Navigate to the Sessions section of your account.
Click + New Session.
Give the session a name.
Begin adding groups, talent, and media.
Renaming a Session
Sessions cannot be deleted, but they can be renamed at any time.
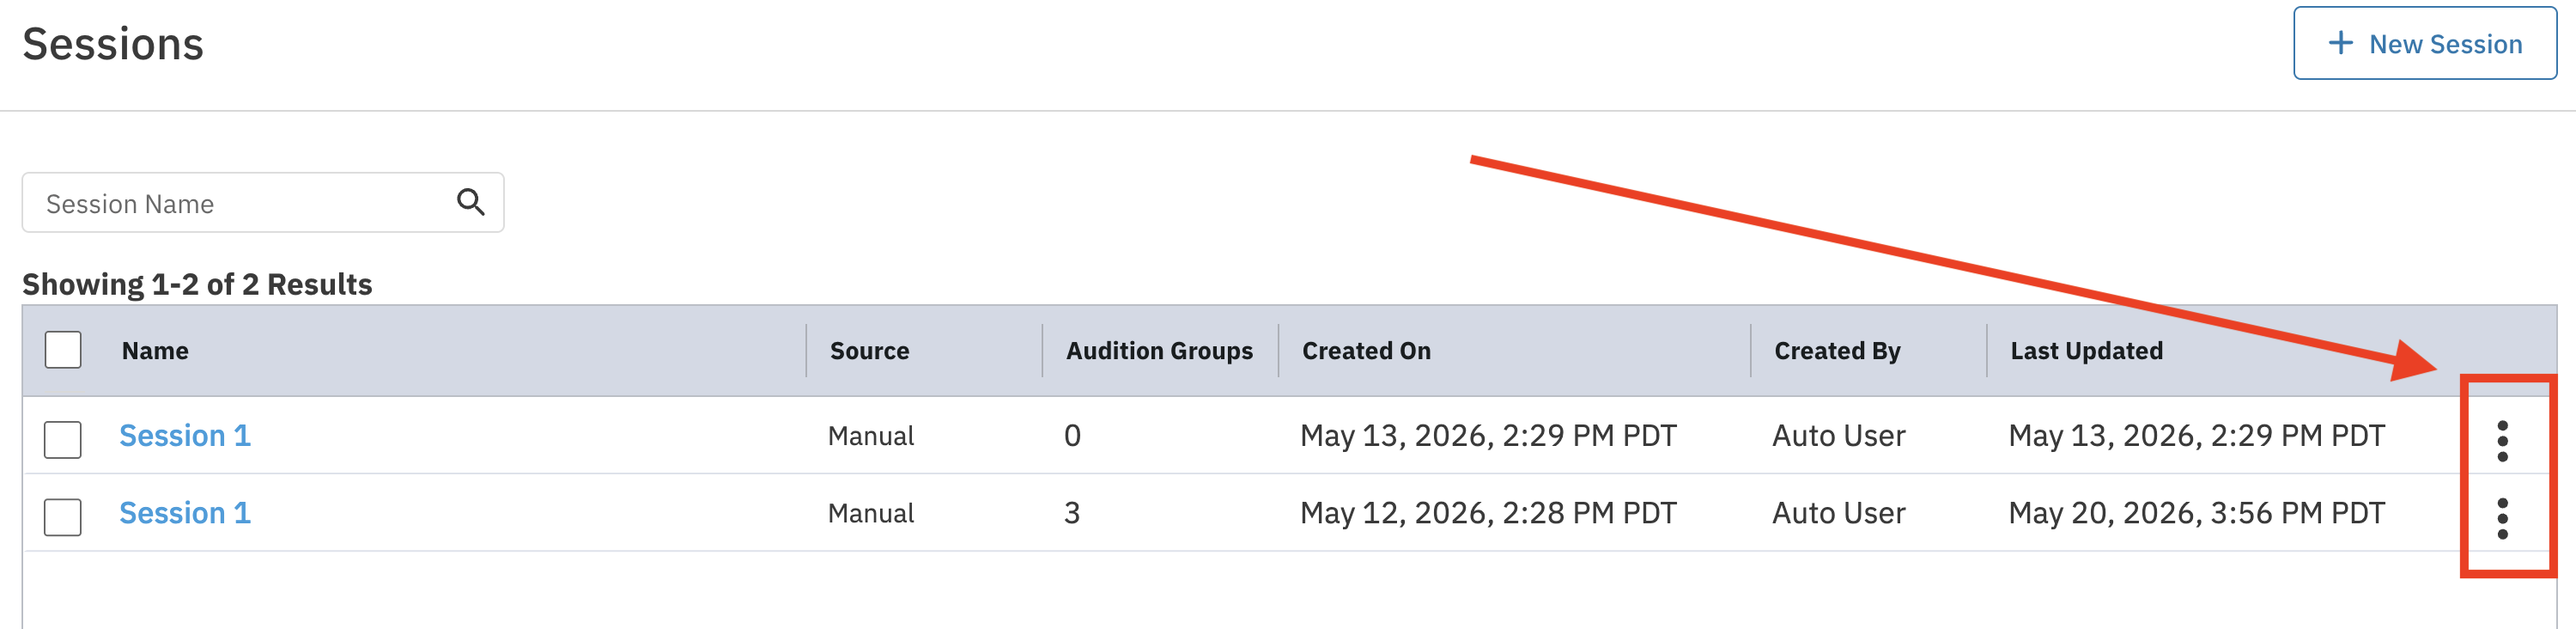
Click the overflow menu on the far right of the session you want to rename.
Select Rename.
Enter the new name and click Save.
Automated Session
Not all media needs to be uploaded manually. When talent respond to a Self-Tape / Media Request, their submissions are automatically added to a session in your project. If you are utilizing Fast Capture this will also auto populate sessions.
The session is created automatically when responses come in
The session name will match the title of the Media Request
This makes it easy to keep self-tape submissions organized without any extra setup on your end.
Editing Session
Sessions cannot be deleted, but they can be renamed at any time.
Click the overflow menu on the far right of the session you want to rename.
Select Rename.
Enter the new name and click Save.
Manually Adding to a Session
You can add new content to your project groups at any time. Follow the steps below to upload files.
Click Sessions.
Open the session and select +Add New

Adding Talent From Project
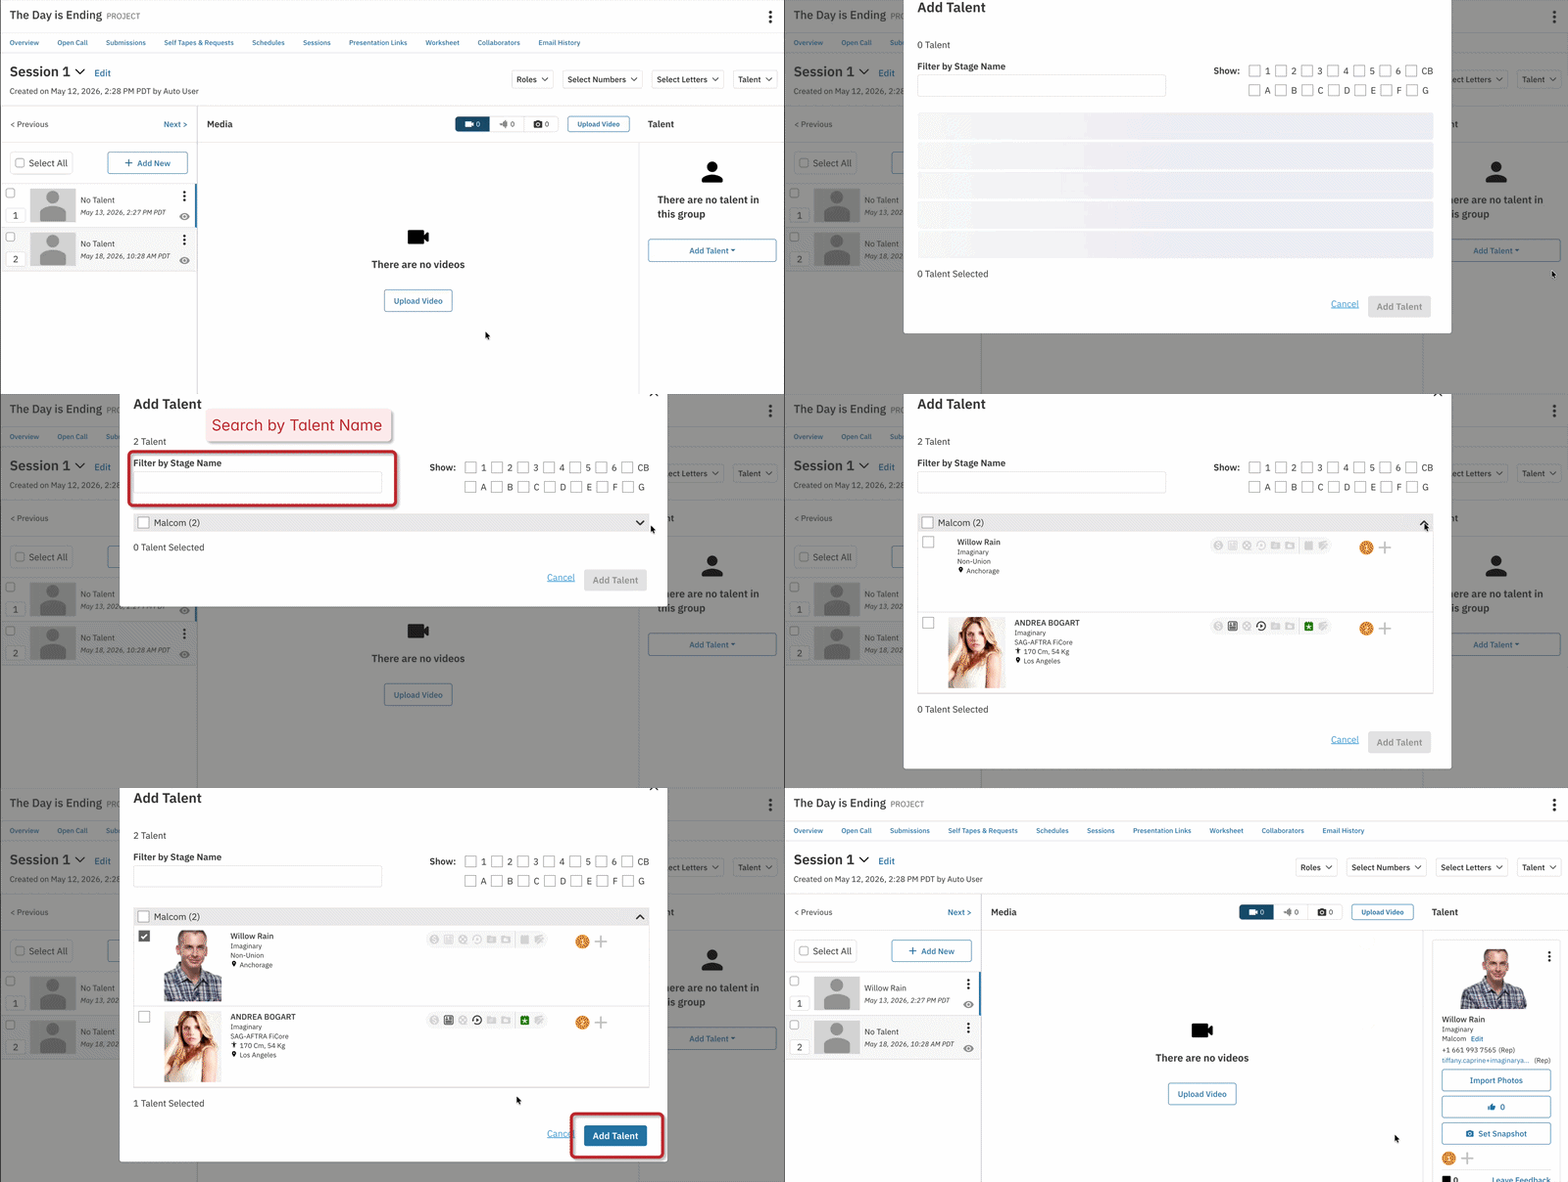
This option lets you add talent who have already been marked as a selection or are under consideration within your project. You can add multiple talent to one group - this is useful when doing chemistry reads.
Click Add Talent.
Select Add Talent from Project.
Use the filters to narrow your list by role or selection tags, or search for a specific talent by name.
Adding New Talent
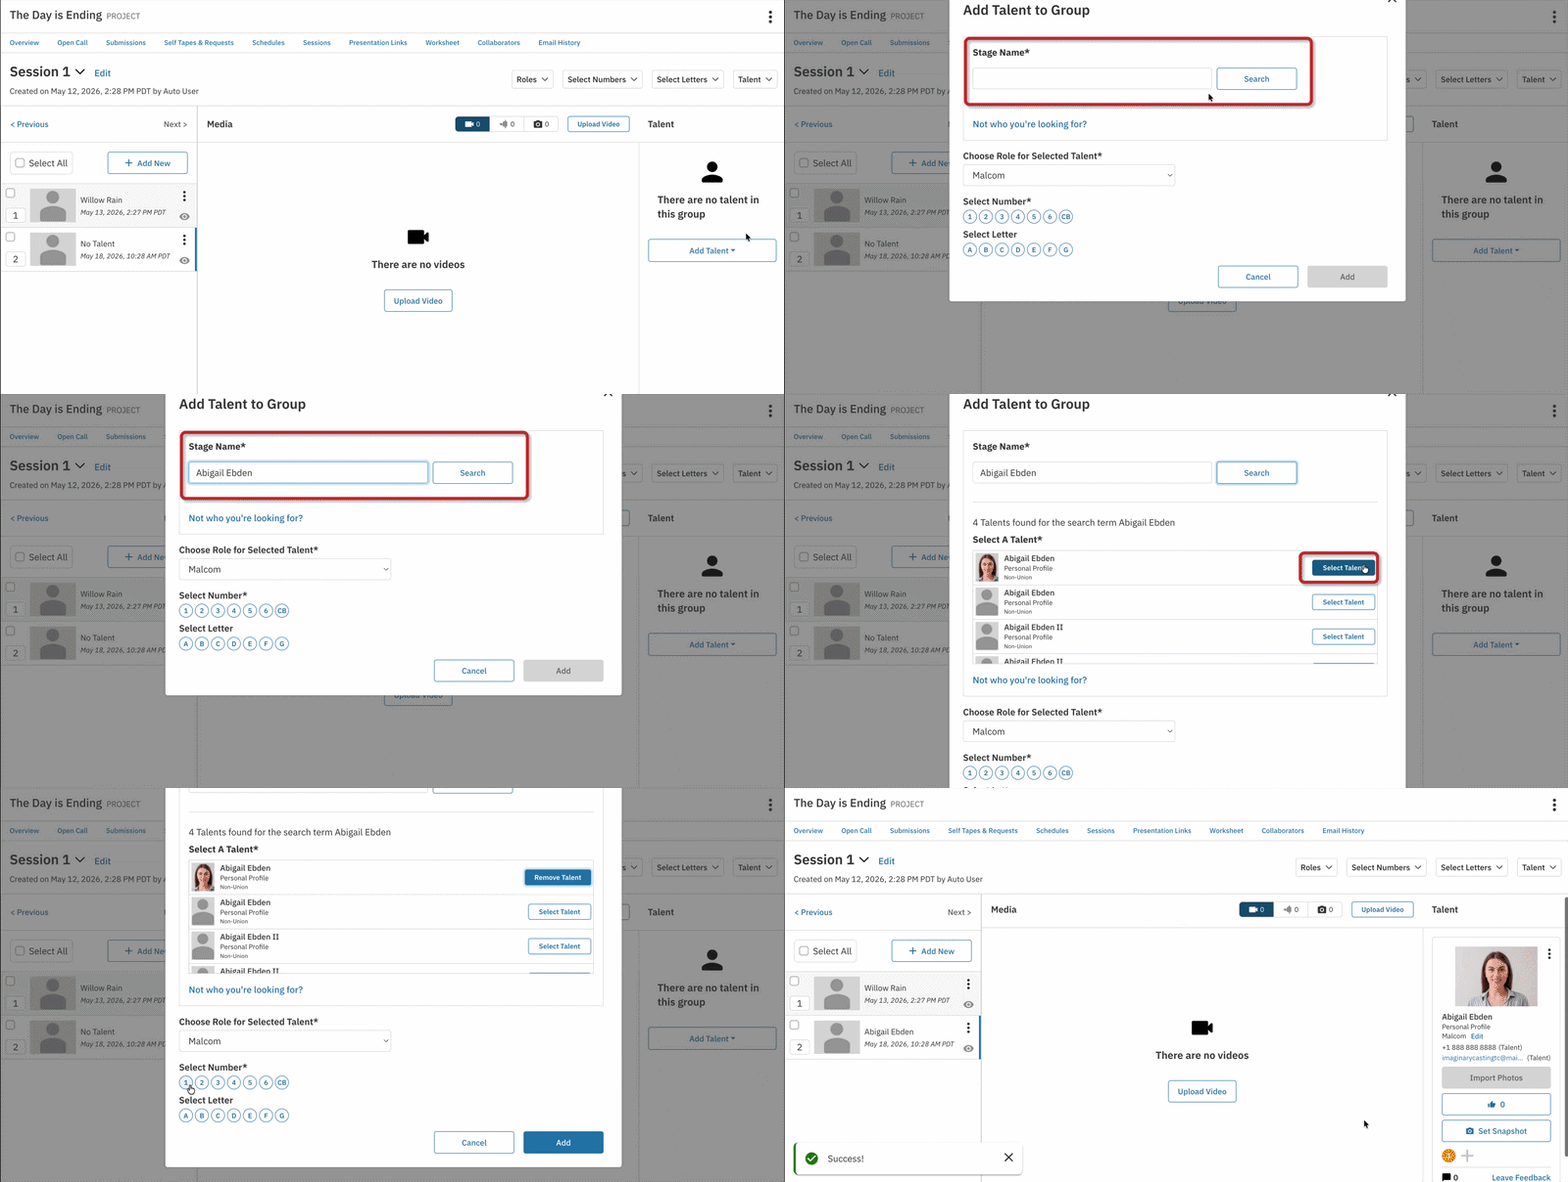
You can search the platform to find and add a specific talent, or create a placeholder profile for someone who is not yet on Casting Networks.
Click Add Talent.
Select Add New Talent.
Search for the talent by name. When you find the right profile, click Select Talent.
Select their role and apply a selection tag.
Click Add Talent
If the talent does not appear in the search results, click "Not who you're looking for?" to manually enter their information and create a placeholder profile.
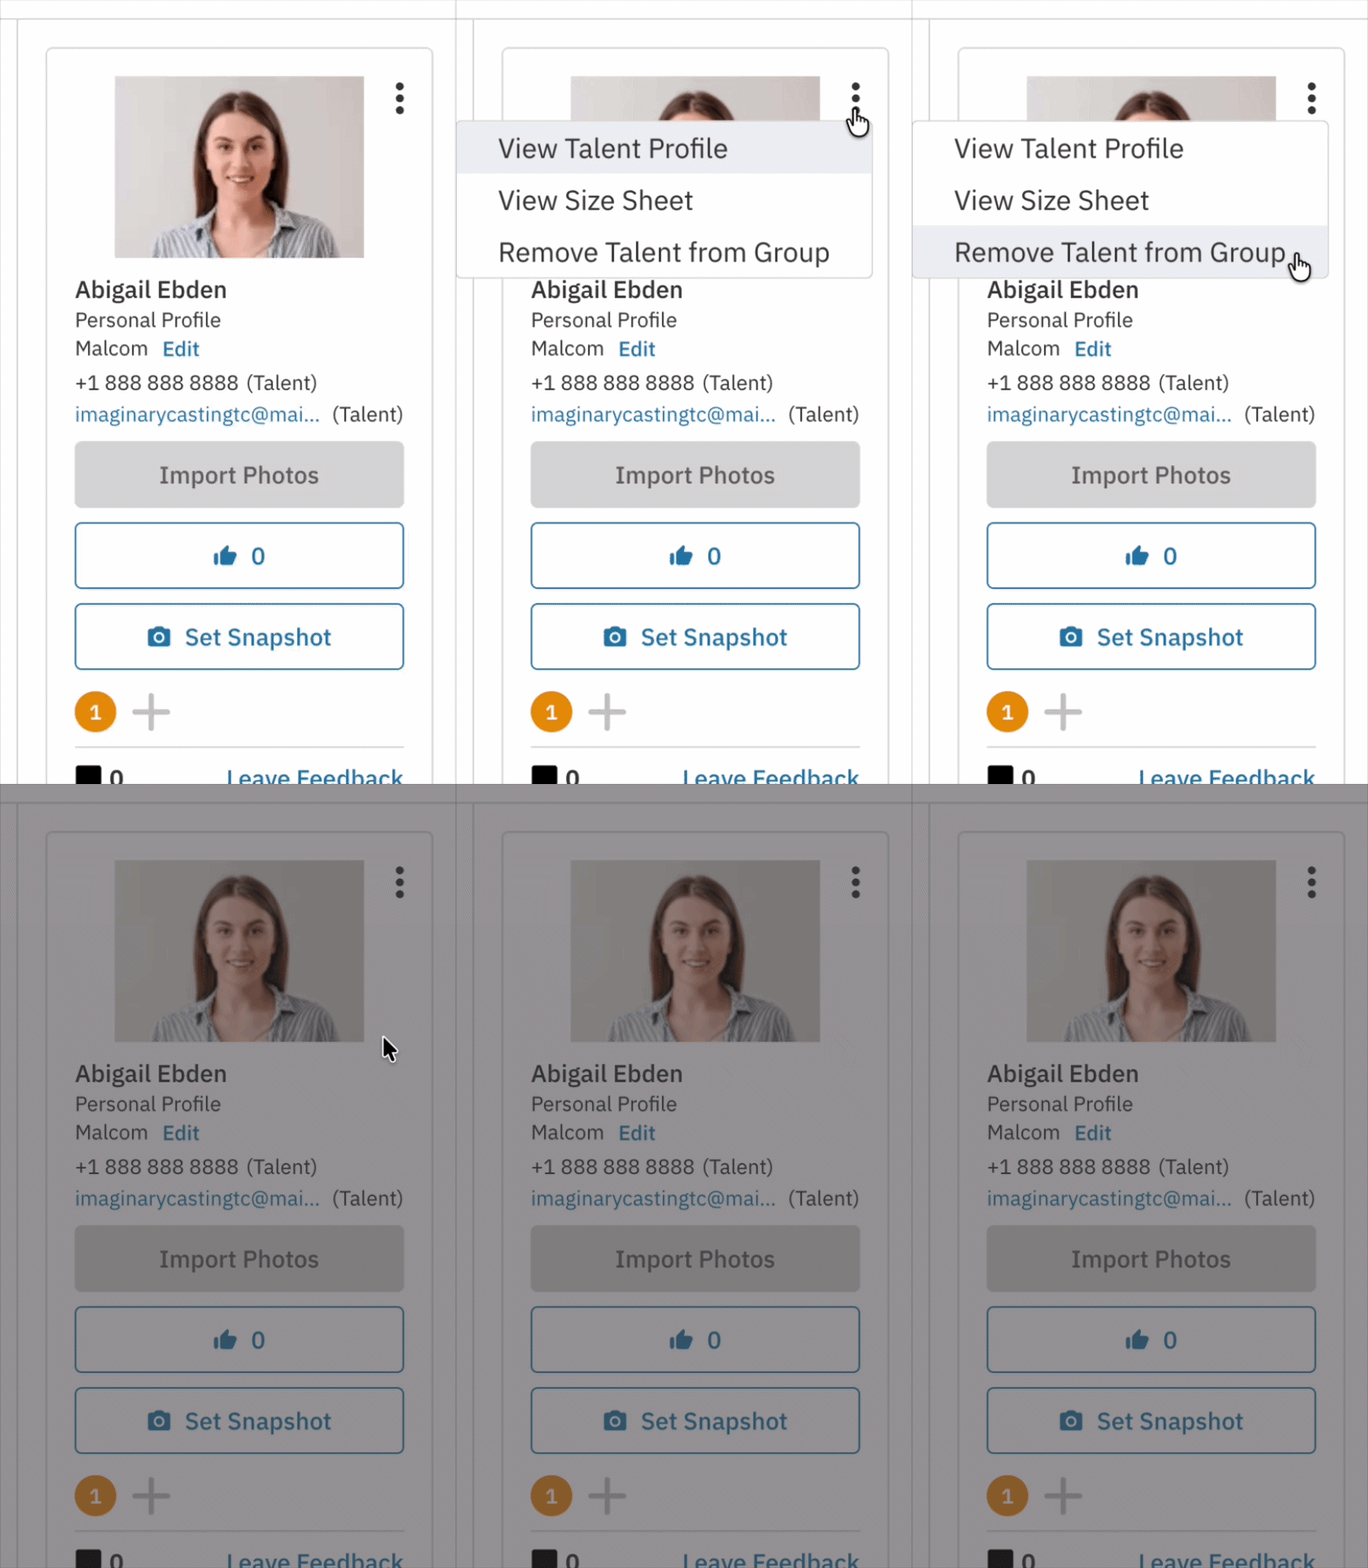
Removing Talent from a Group
To remove a talent from a group:
In the Talent column on the right, locate the talent you want to remove.
Click the overflow menu (the three-dot icon) on the far right of their entry.
Select Remove Talent from Group.
Hiding and Unhiding Talent and Media
You can hide a talent group from a session at any time. Keep in mind that permanently deleting a group is not an option — hiding is the way to remove it from view. A hidden group will appear with a gray overlay and will not show up in any presentations linked to the session.
Select the session you wish to edit.
Choose the talent group you want to hide.
Click the eye icon within the group to hide it.
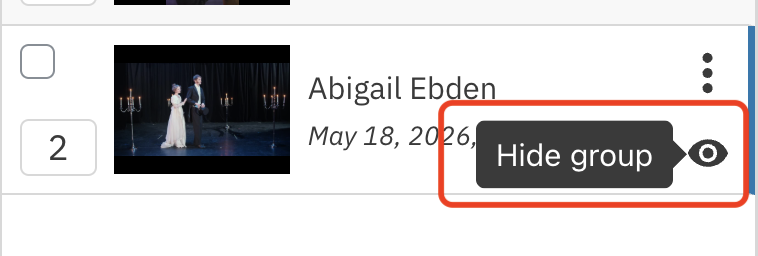
To unhide a group, simply click the eye icon again.
Managing Media in a Session
Adding Media
You can upload video, audio, or photos directly to a group within your session.
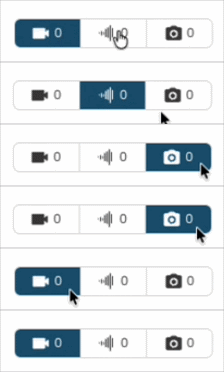
Select the type of media you want to upload: Video, Audio, or Photos.
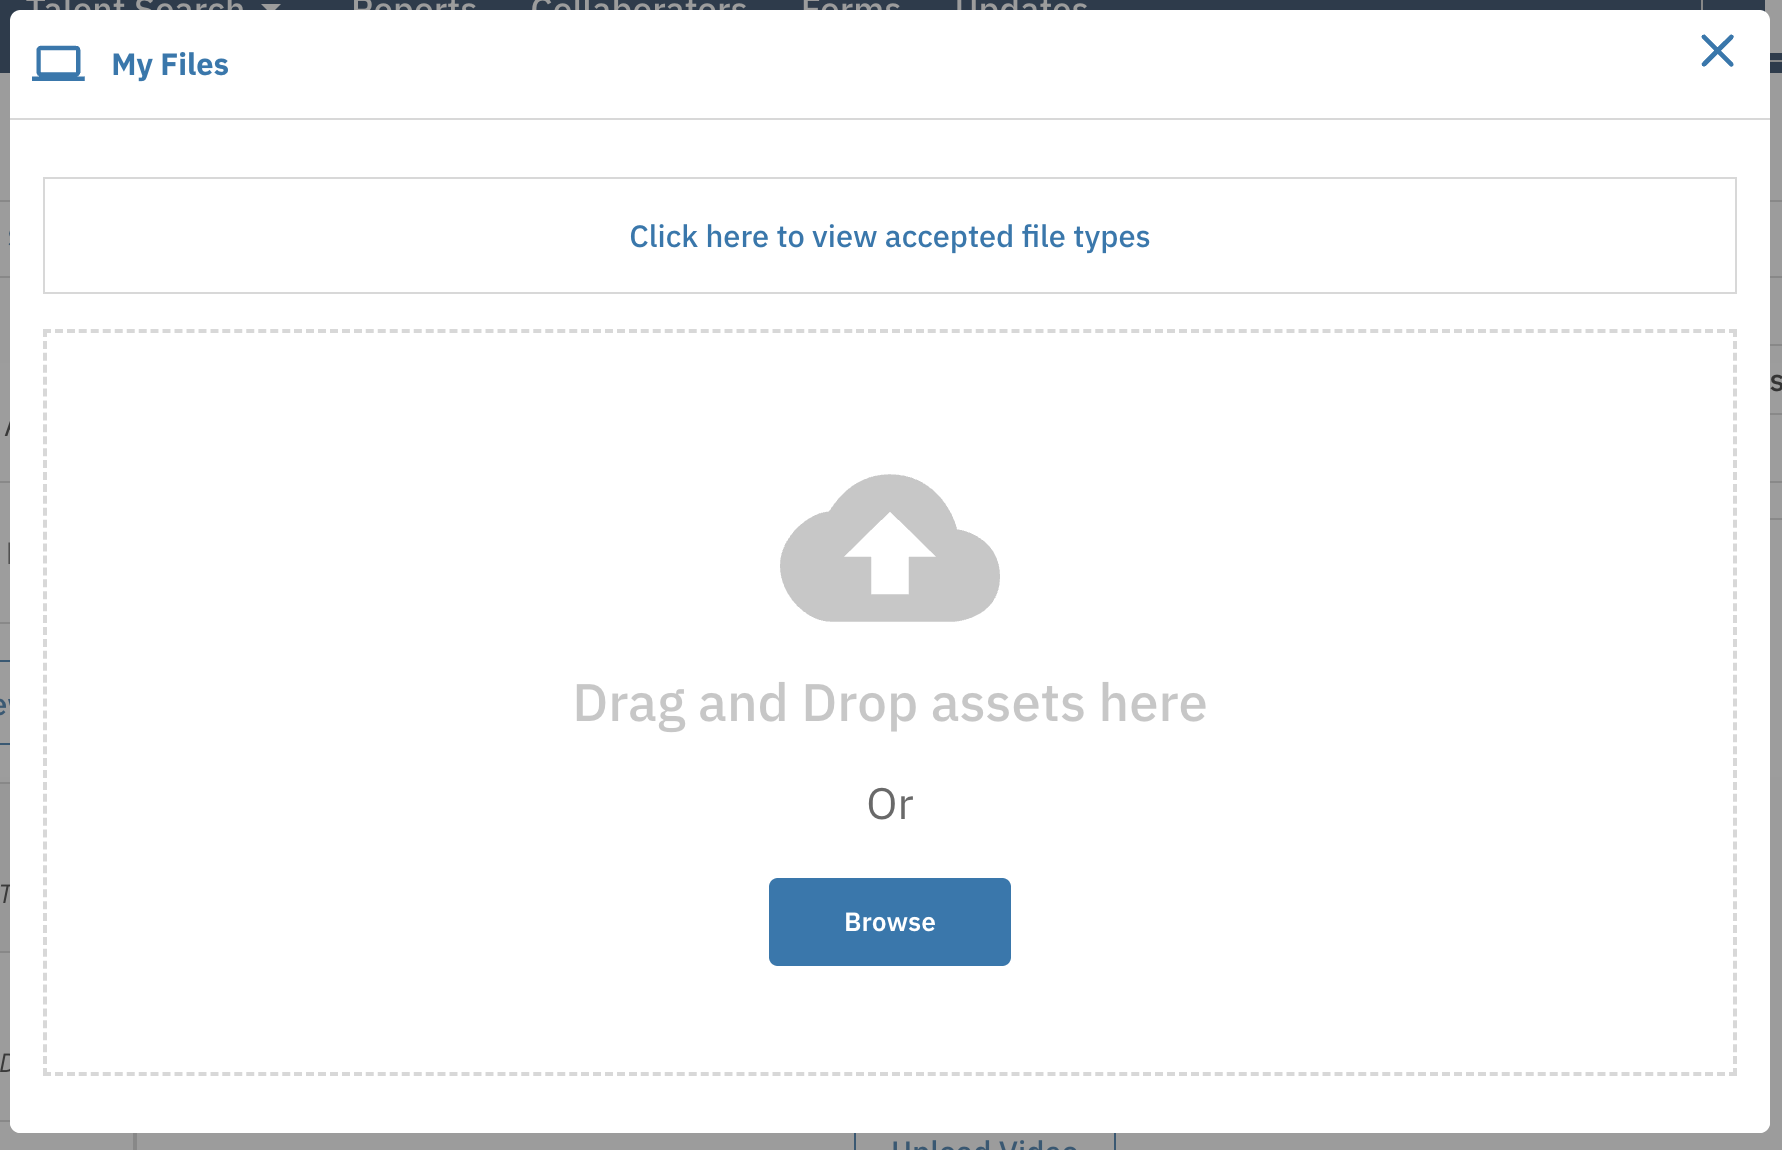
Click Upload.
Drag and drop your files into the upload area, or browse your computer to select them.
You can also import photos from a talent's profile directly into the session by clicking Import Photos below their headshot in the right column.
Renaming Media
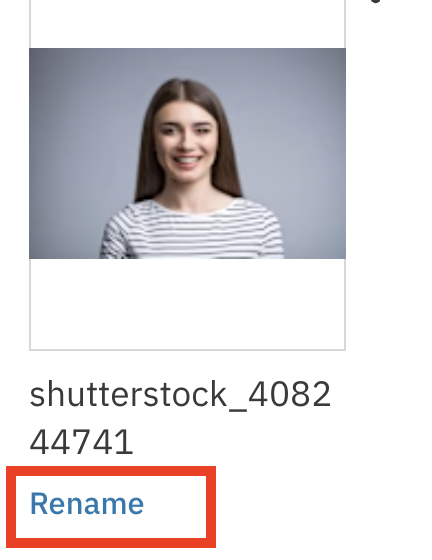
If you need to update filenames to keep your media organized, you can rename videos, audio, or photos directly within a session.
Click the Video tab (or Audio/Photos, depending on the file type).
Click Rename next to the piece of media you would like to update.
Select Save to confirm your changes.

Reordering Media in a Session
Reordering Talent Groups
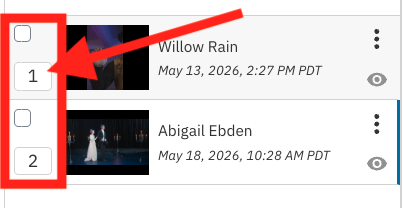
In the left column, locate the order number next to the talent's thumbnail.
Change the number to the position you want to move that talent to.
Reordering Video Takes or Audio Clips
Find the video takes in the Video Playlist below the video player, or locate your audio clips in the Audio tab.
Click and hold the drag handle to the left of the play button on the clip you want to move.
Drag the clip to your desired position.

Reordering Photos
Go to the Photos tab and locate the photo you want to move.
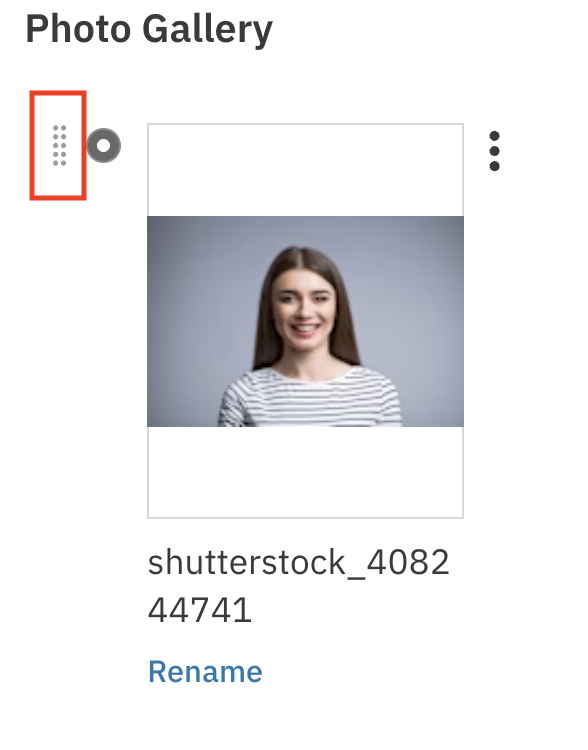
Click and hold the drag handle to the left of the select button on the photo you want to reorder.
Drag the photo to your desired position.
Deleting or Downloading Media
Locate the media file you want to manage.
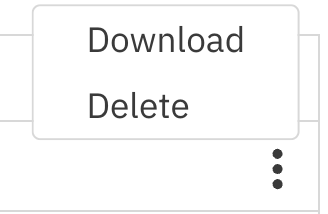
Click the overflow menu next to it.
Select Delete or Download.
Changing a Talent's Group Thumbnail
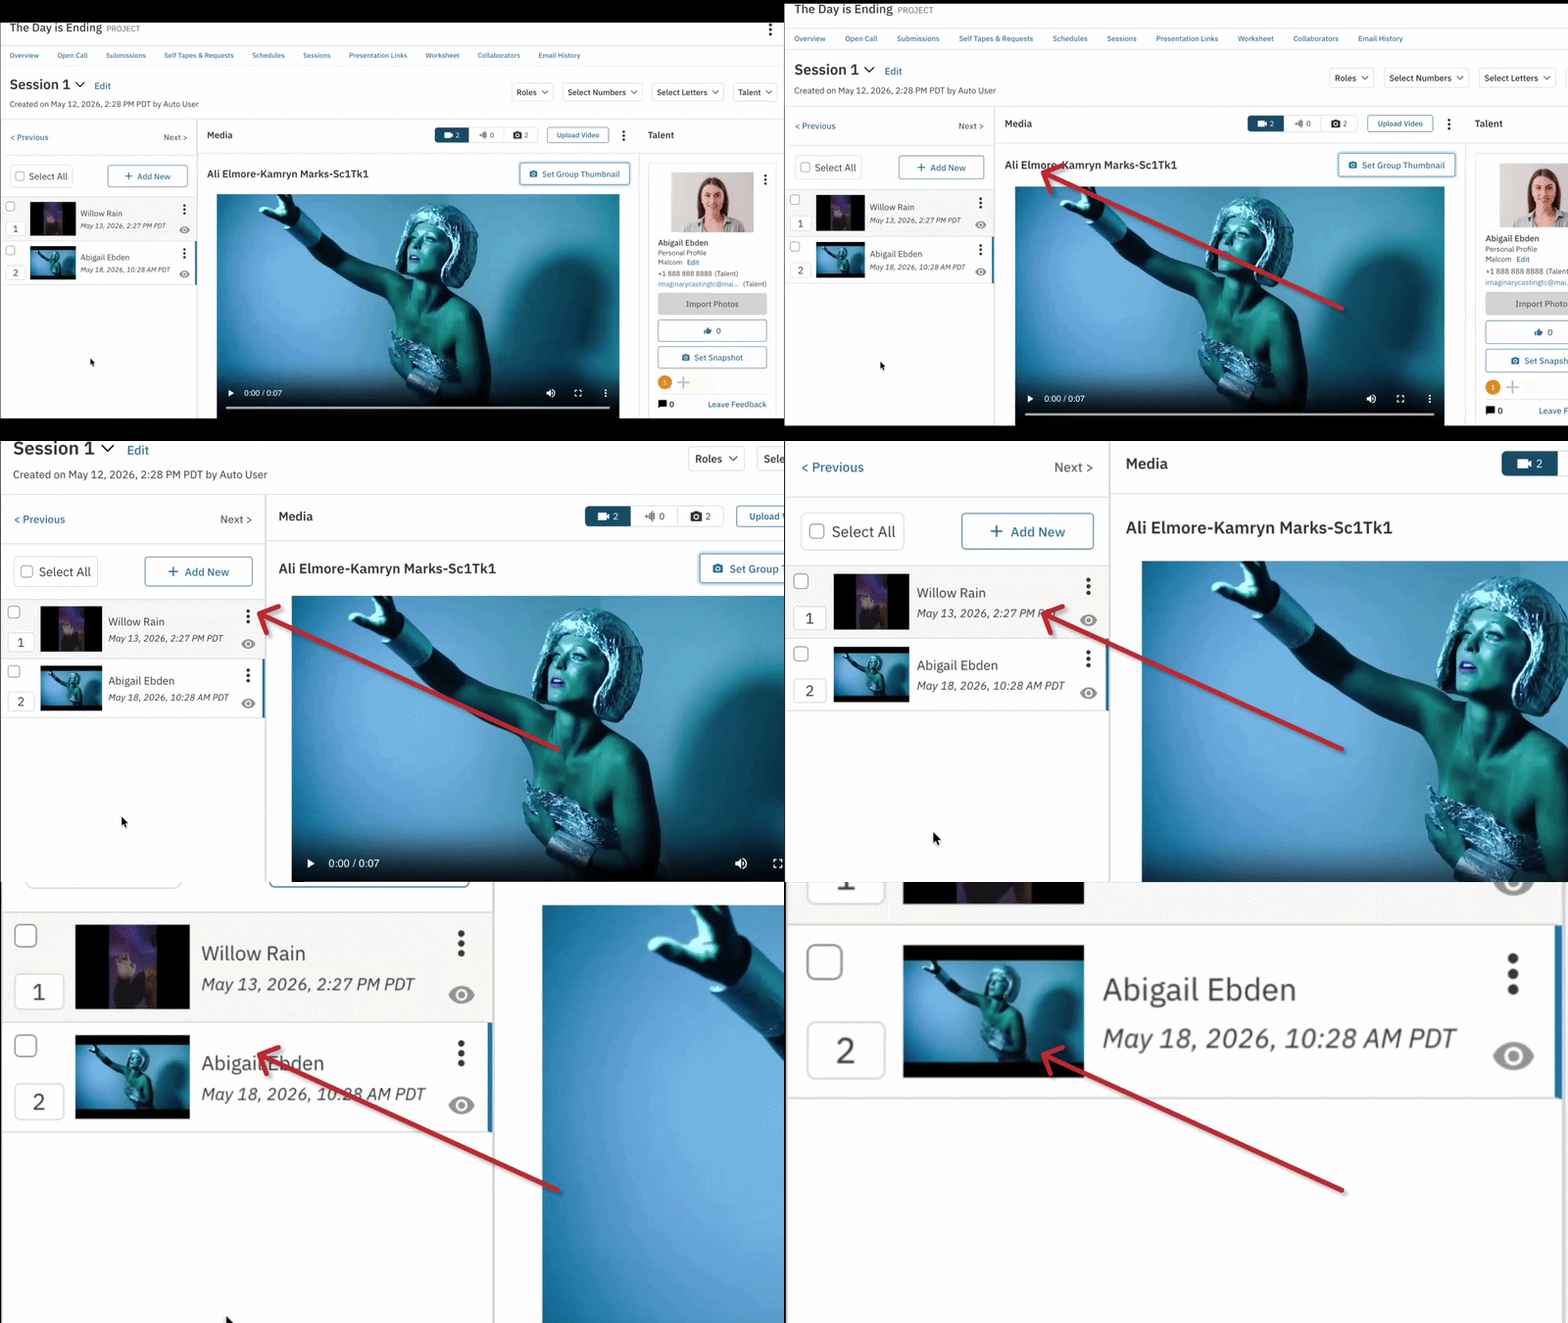
You can update the primary display thumbnail for a talent within a specific session.
Select the specific session you wish to edit.
Choose the group that contains the talent Thumbnail you would like to update.
Set the thumbnail using either a photo or a video frame:
From a Photo
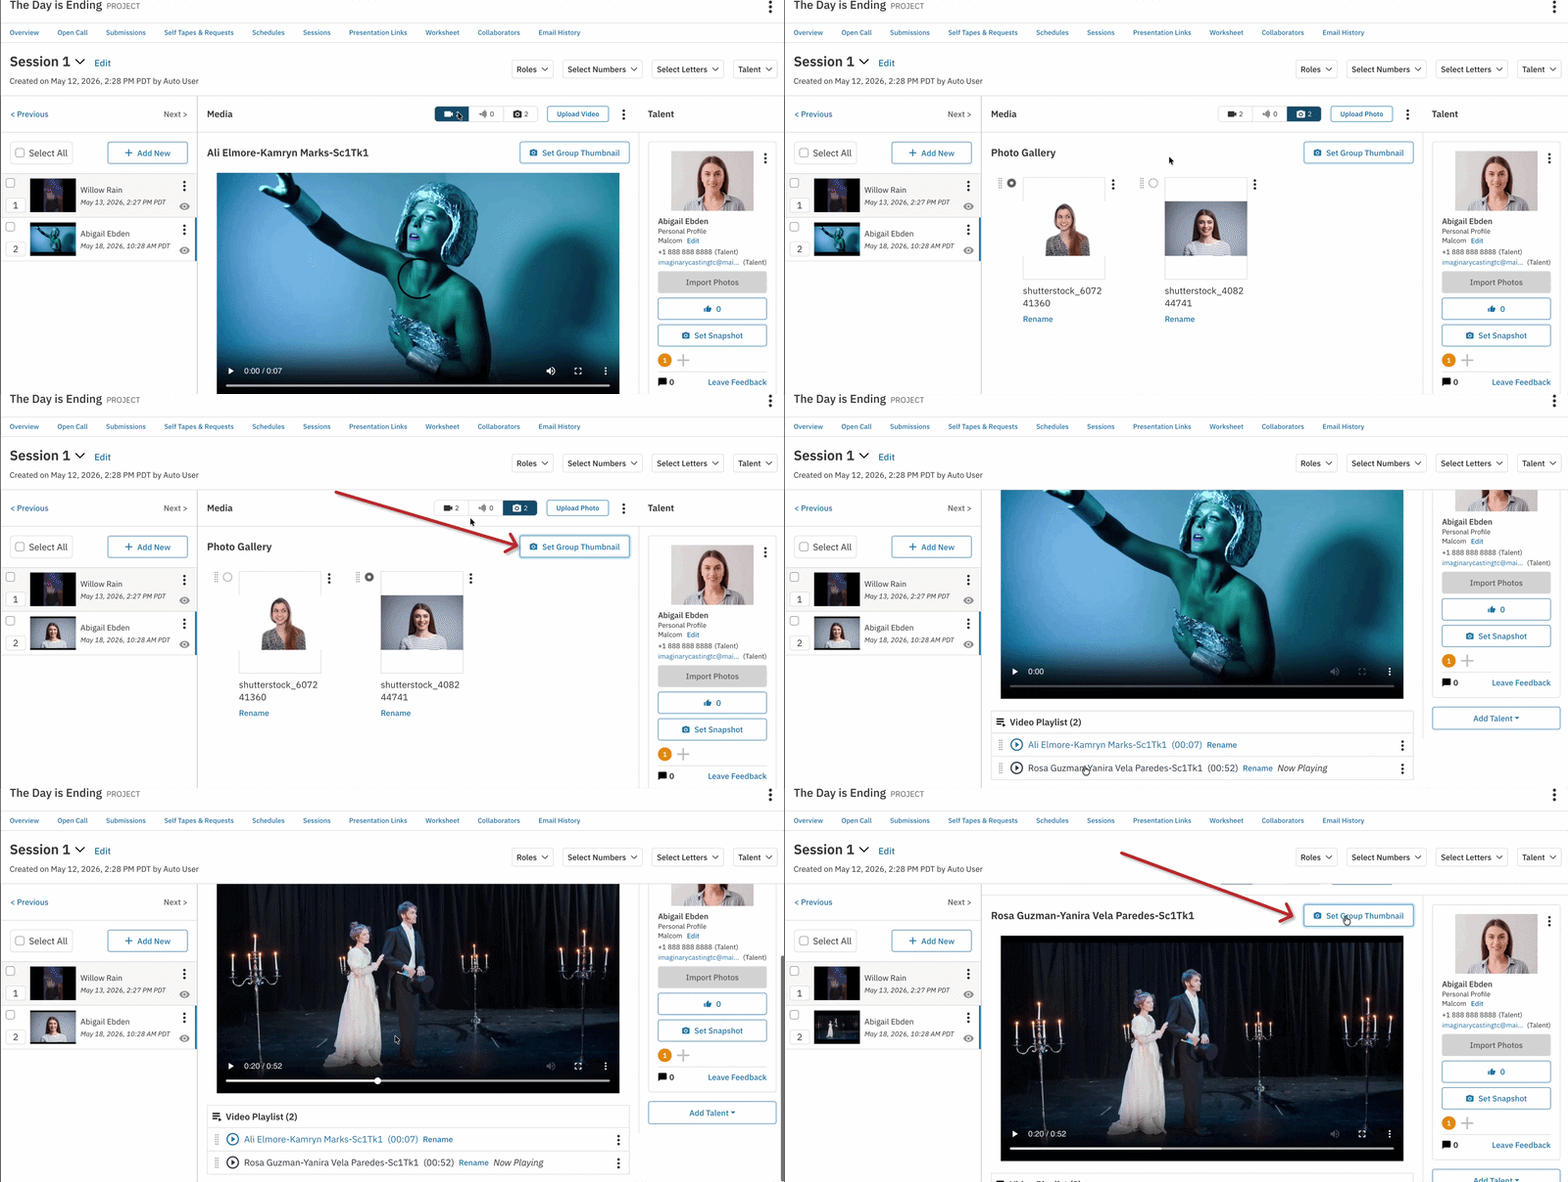
Go to the Photos tab.
If needed, click Upload Photo to add a new image.
Select the photo you want to use as the Thumbnail.
Click Set Group Thumbnail.
From a Video
Go to the Videos tab.
If needed, click Upload Video to add a new video.
Select the video clip you want to use as the Thumbnail. Scrub through the video player until you find the specific frame you want to use.
Click Set Group Thumbnail.
Changing a Talent's Snapshot
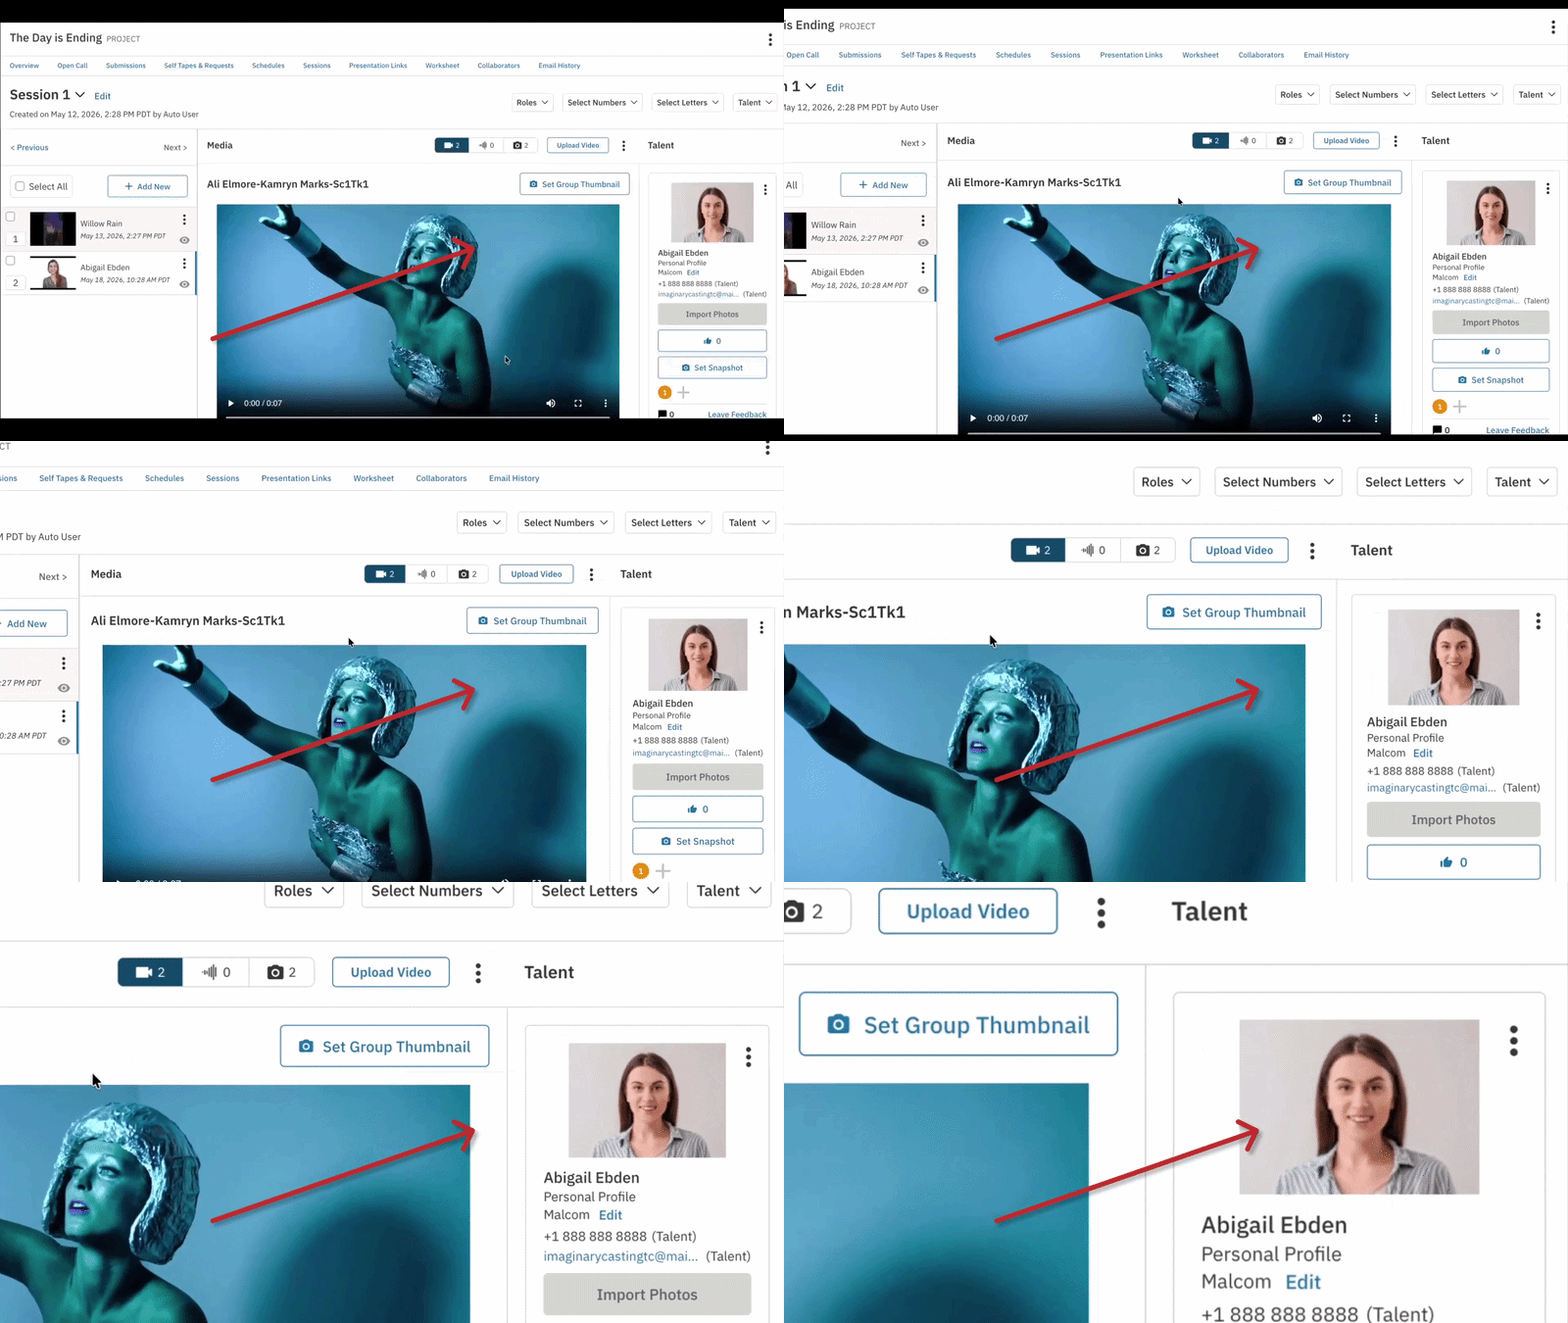
You can update the primary profile image (snapshot) for a talent within a specific project from within sessions.
Select the specific session you wish to edit.
Choose the group that contains the talent you would like to update.
Set the snapshot using either a photo or a video frame:
From a Photo
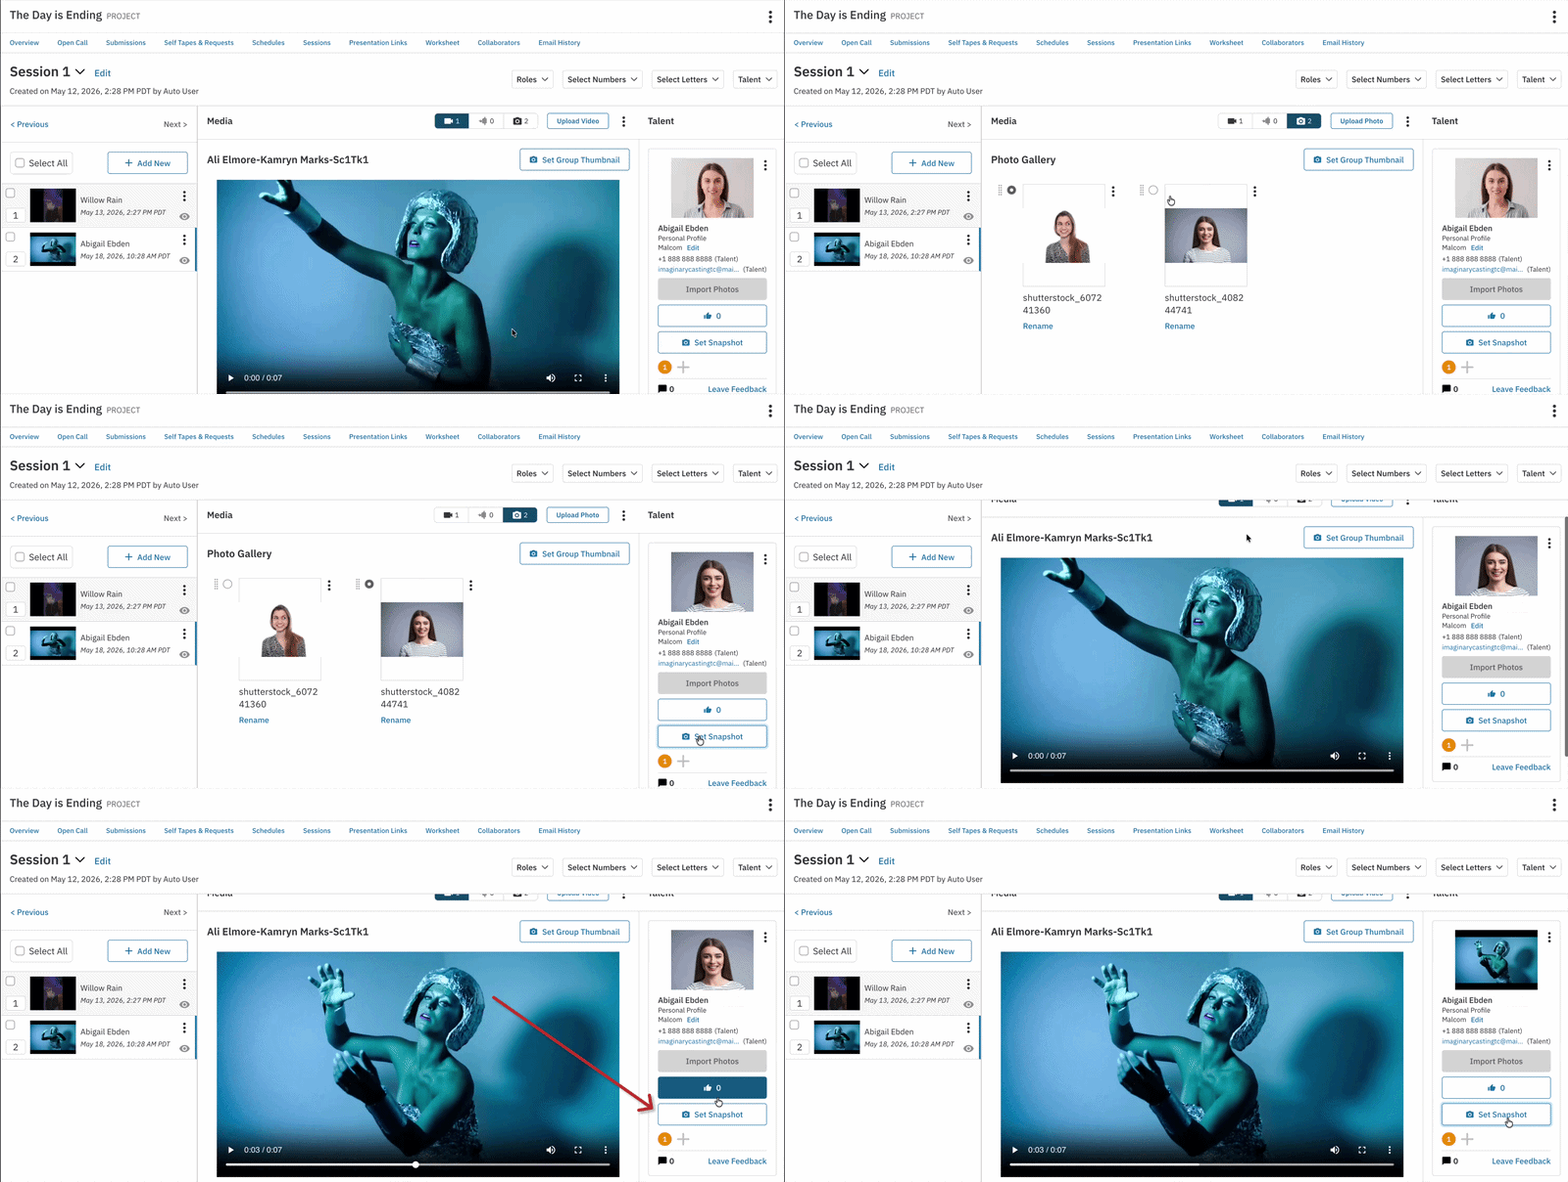
Go to the Photos tab.
If needed, click Upload Photo to add a new image.
Select the photo you want to use as the snapshot.
In the Talent section on the right side of the screen, click Set Snapshot under the talent you want to update.
From a Video
Go to the Videos tab.
If needed, click Upload Video to add a new video.
Scrub through the video player until you find the specific frame you want to use.
In the Talent section on the right side of the screen, click Set Snapshot under the talent you want to update.
Copying Groups to Another Session
You can copy audition groups to an existing session or create a brand-new one directly from the Copy to Session flow.
Copying to an Existing Session
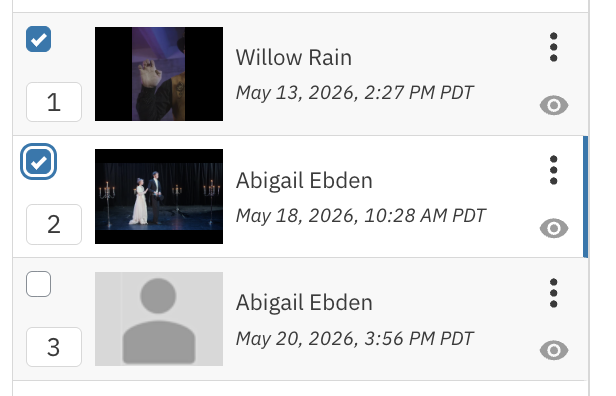
Select the group(s) you want to copy.
Click Copy to Session.
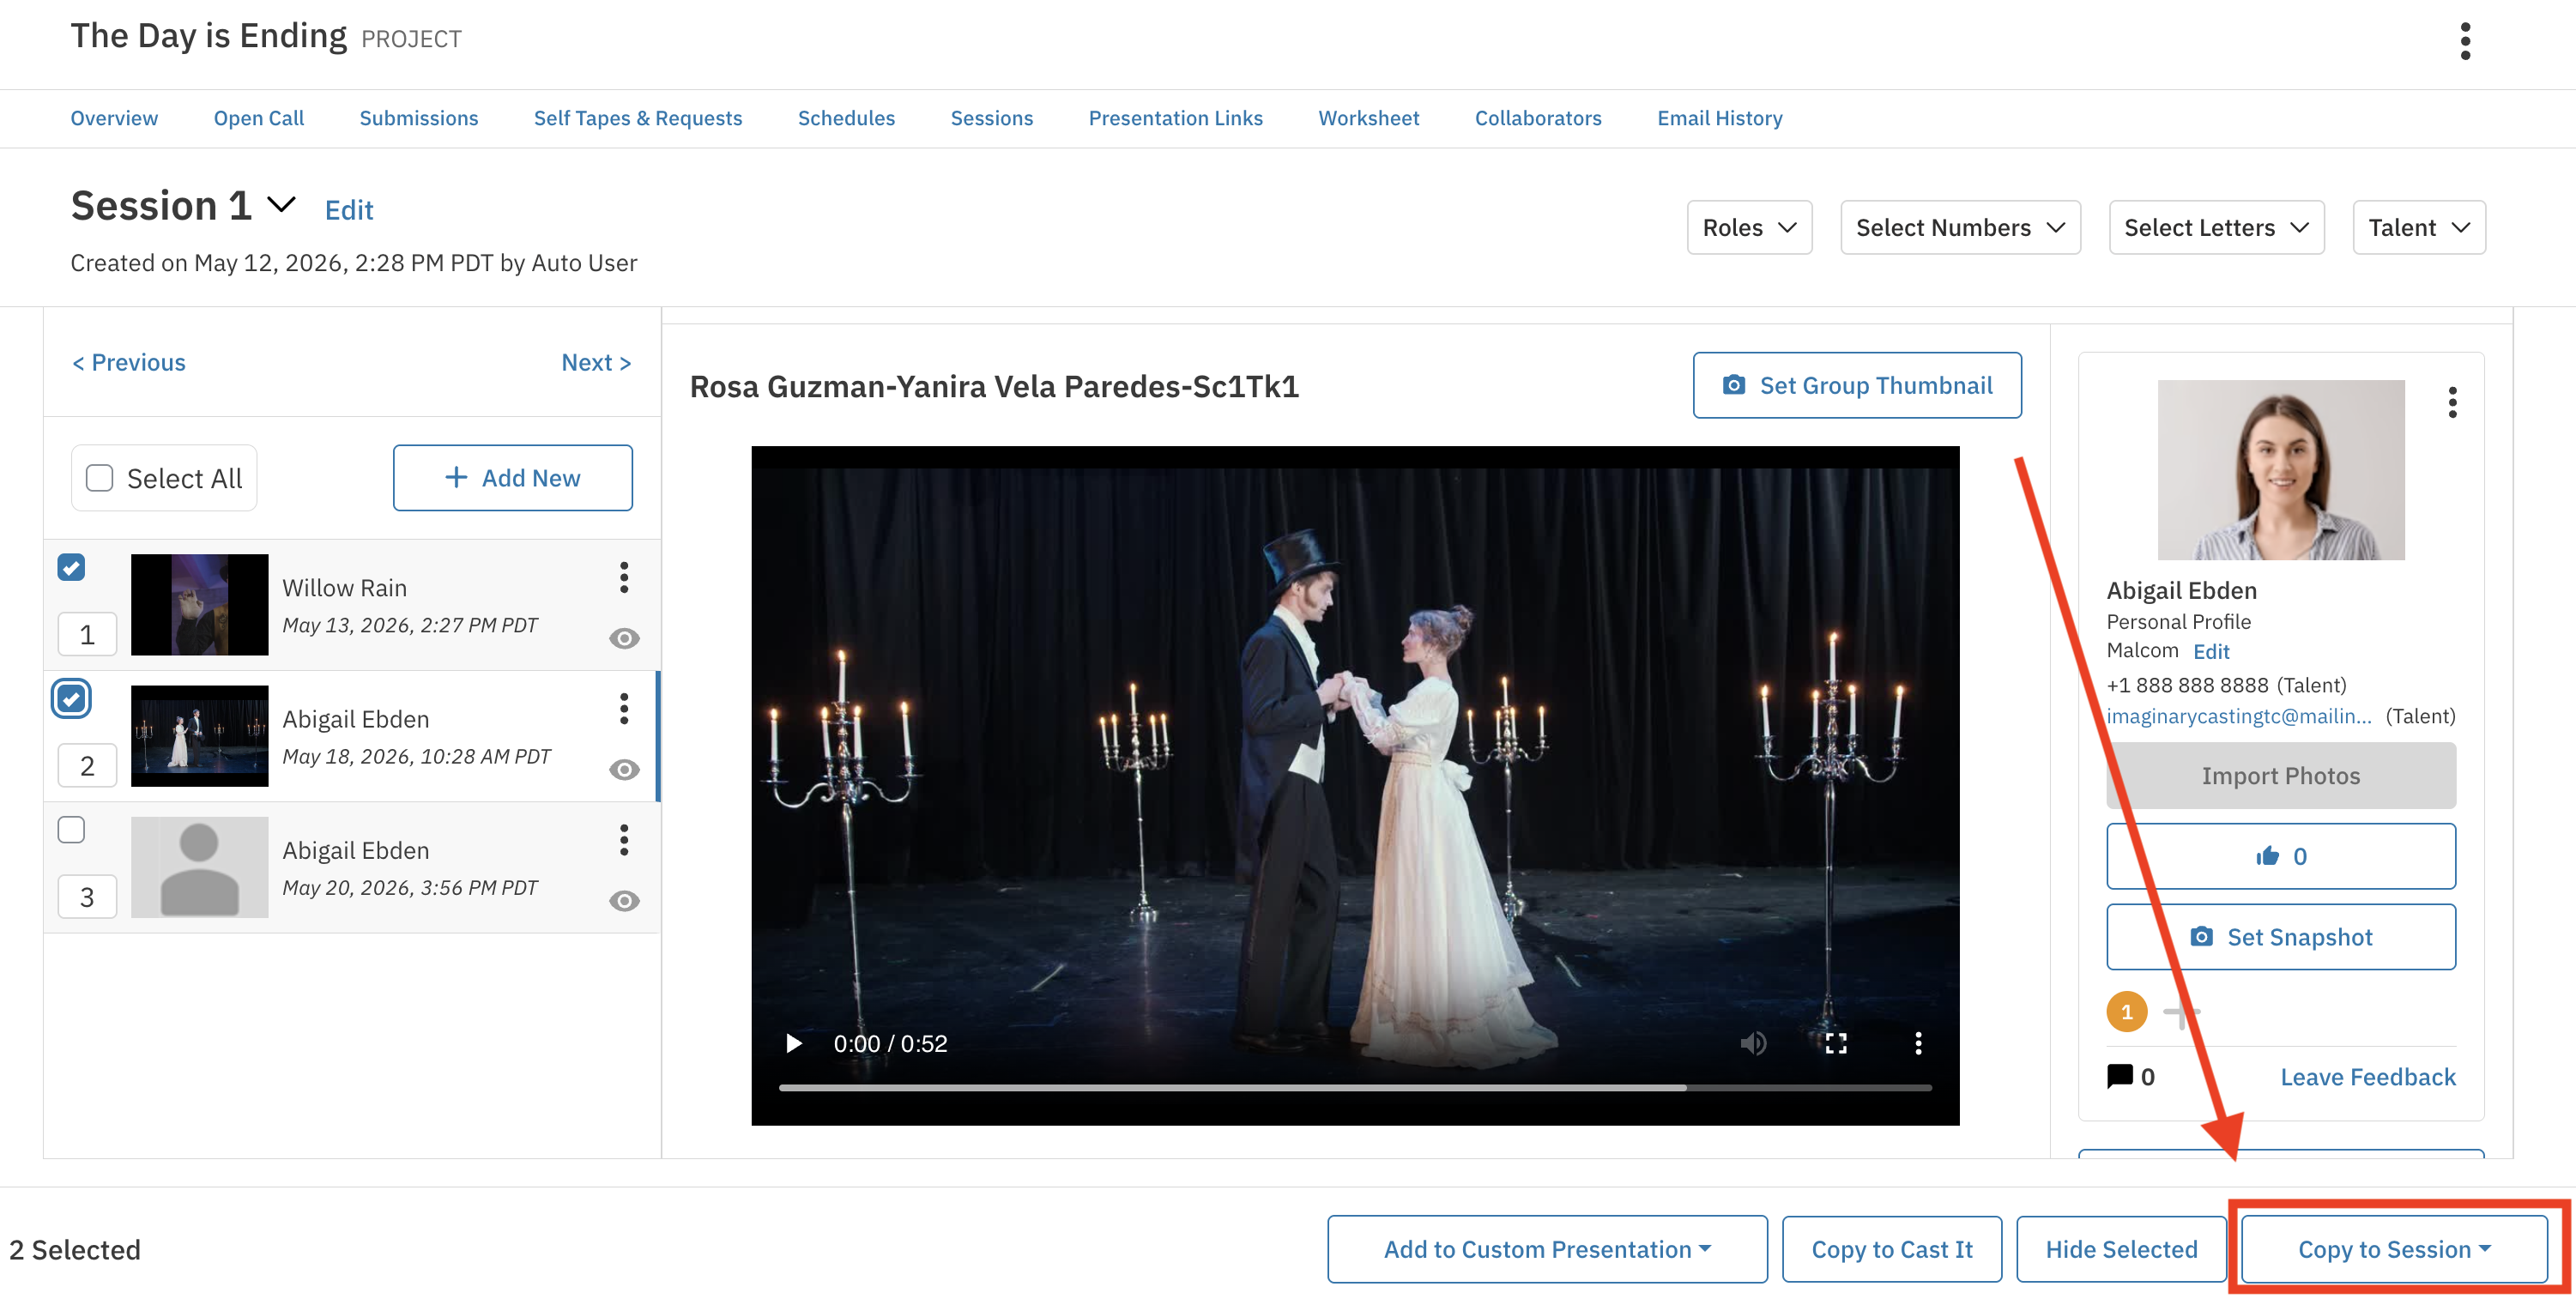
Select the destination session from the list.
A confirmation notification will appear in the bottom-left corner of the screen with a link to the destination session and the presentations page.
Copying to a New Session
Select the group(s) you want to copy.
Click Copy to Session.
Select New Session from the list.
In the Create Session modal, enter a name for the new session. The modal will display how many audition groups will be added.
Click to confirm. The new session is created and the selected groups are added.
A confirmation notification will appear with links to View Session and View Presentations.
A few things to keep in mind:
You will remain on the original session page after copying.
The group count in the Create Session modal reflects only unhidden groups - this is expected behavior.
The confirmation notification dismisses automatically after 5 seconds.
Session Page Layout
Once clicked into a specific session, the session page consists of four main sections:
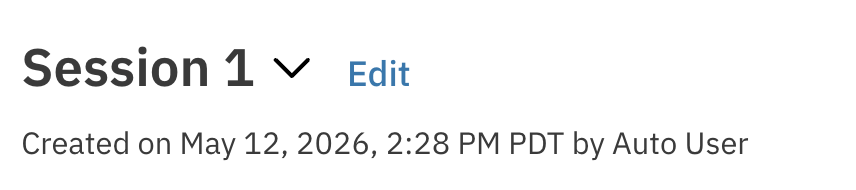
Header Section
Located at the top of the page, this section is your command center for the session.
Session Context: Displays key information about the current session so you always know where you are working.
High-Level Actions: Allows you to edit the session name and navigate to other sessions.
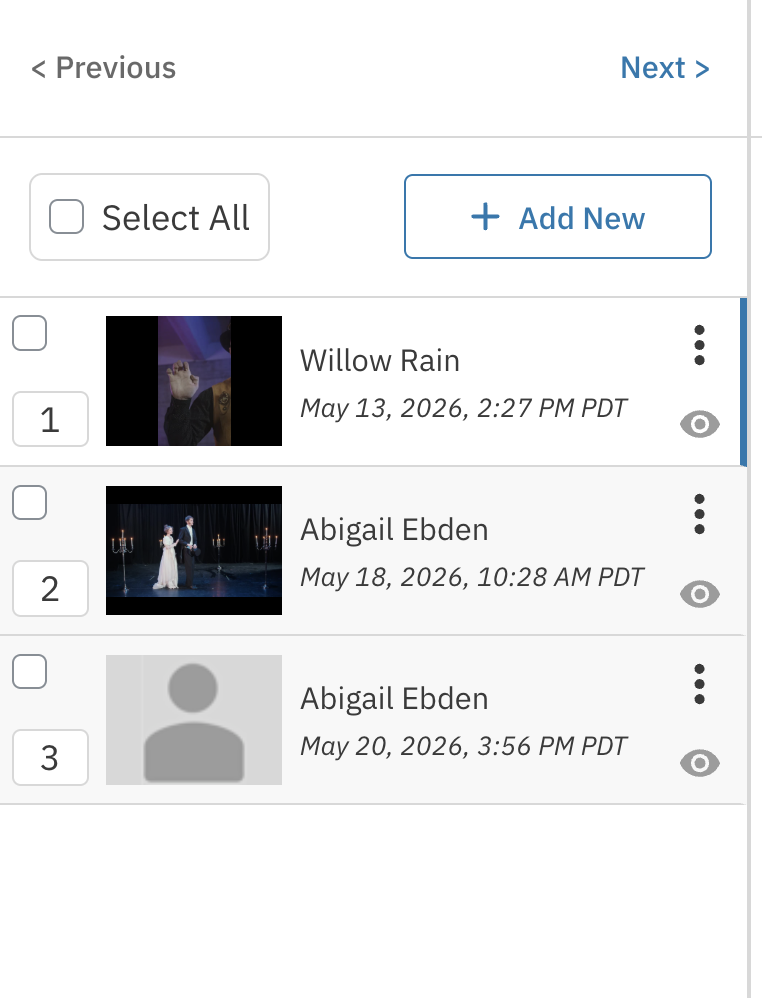
Left Column - Groups
This dedicated column on the left is for navigating and managing groups within the session.
Reorder, rename, select, and add groups
Hide or unhide groups
Navigate easily between different groups
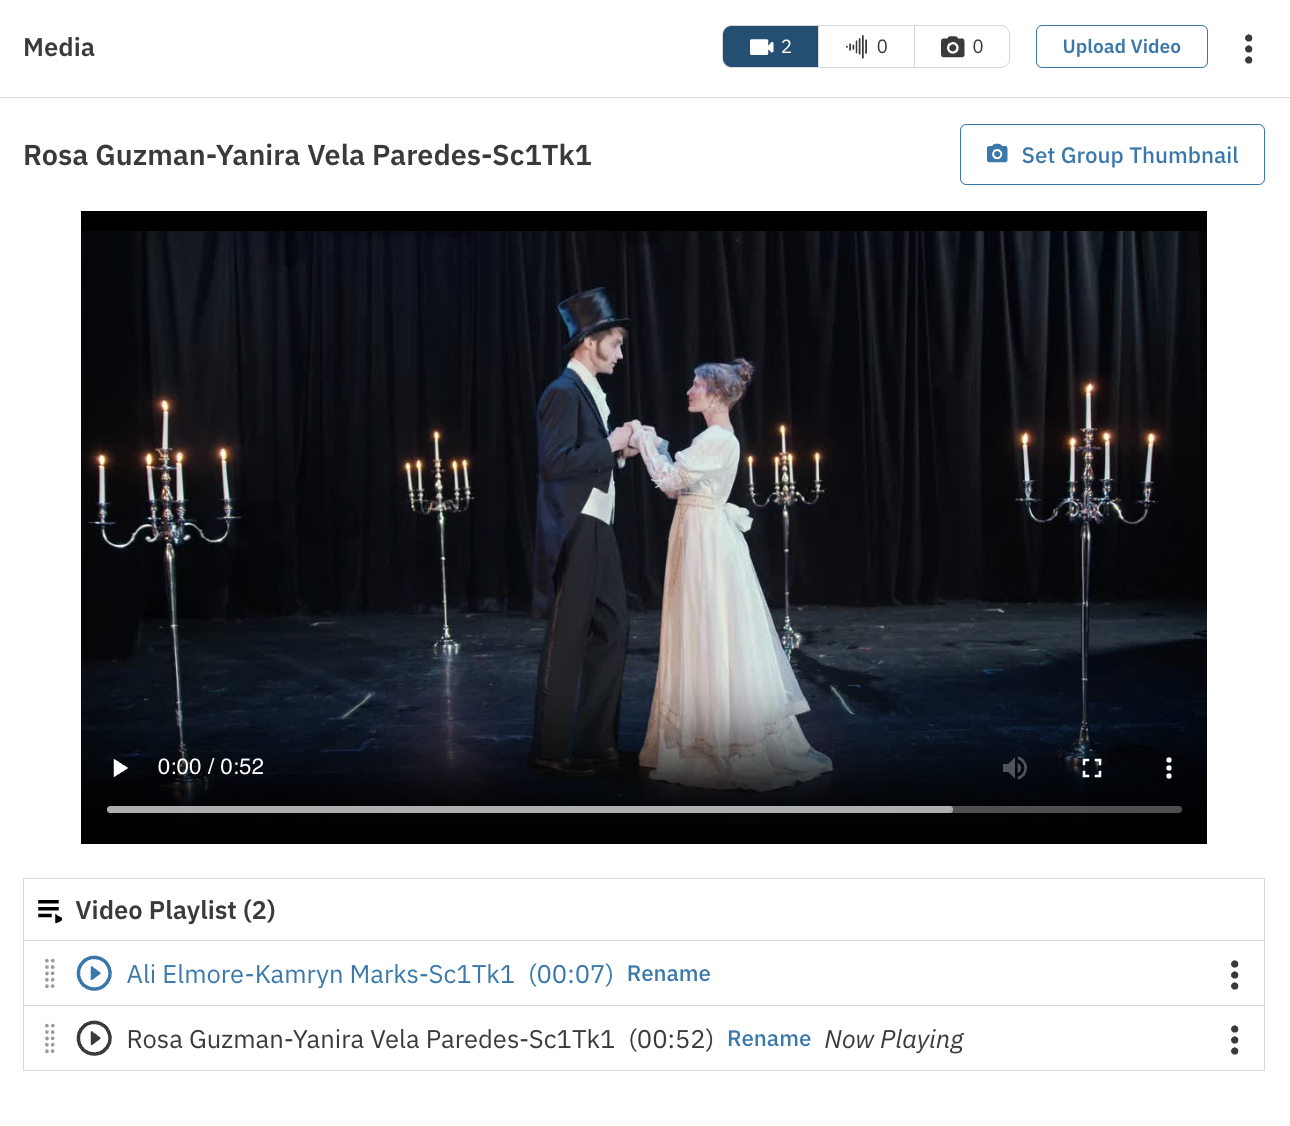
Middle Section - Media
The central area of the page focuses on media playback and review, allowing you to view talent materials without leaving the list.
Select the media type you want to review
Select, upload, download, delete, and rename media
Set group thumbnails
Reorder media files
Right Column - Talent
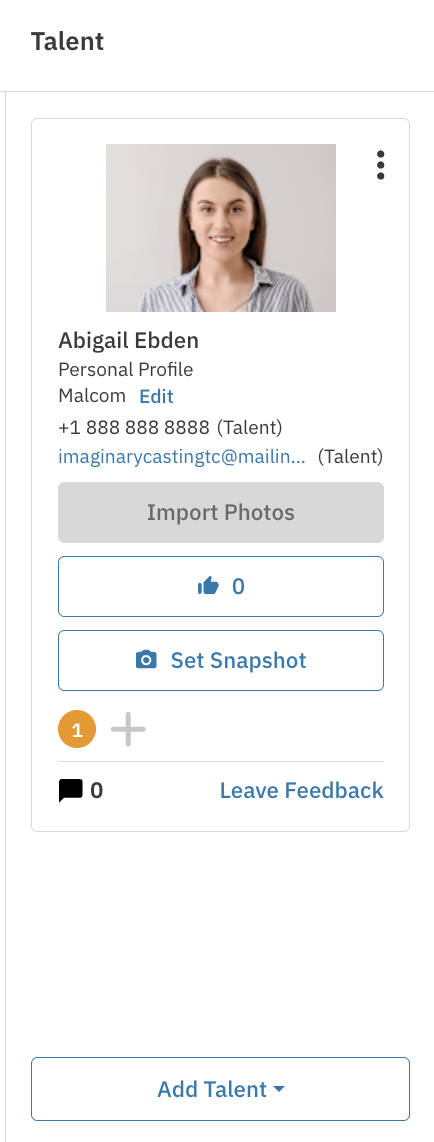
The column on the right displays the talent list for quick viewing alongside groups and media.
Talent Actions: Toggle Pick status, reorder talent within groups, and remove talent from groups
Snapshots and Photos: Set talent snapshots and import photos
Navigation: Clicking a talent thumbnail opens their public profile in a new tab
Feedback and Selection: Access the feedback modal and selection tags directly in the list
Using Page Filters
Session filtering options allow you to quickly narrow down talent and groups within the session.
Role Filters: Show talent associated with specific roles within the session
Selects Filters: Refine your view based on Select Numbers and Select Letters to match your tagging preferences
Talent Filters: Search and filter by specific talent names

Frequently Asked Questions
What is the difference between a snapshot and a group thumbnail? A snapshot is the primary display image for a specific talent within a session. A group thumbnail represents the group as a whole. Both can be set from a photo or a video frame.
What does the group count in the Copy to Session modal reflect? The count reflects only the unhidden groups in your session. Hidden groups are not included in the copy.
How long do confirmation notifications display? Confirmation notifications (toast messages) appear in the bottom-left corner and dismiss automatically after 5 seconds.
Where can I access the updated session page? The updated layout is accessible wherever you currently access Group Detail and Session Detail pages within Casting Networks.