TALENT REPRESENTATIVE: How do I manage media on a talent's profile?
This article explains how to upload, hide, and manage photos, videos, and audio clips on your talent's profile. It also answers common questions about media credits, locked media, and accepted file types.
Uploading Media
As a representative, you can upload media to any artist profile. If the talent is on a Free Basic Membership, you can upload files as long as they have not used their initial free credits (2 photos, 1 video, and 1 audio). If the talent is on a Premium Membership, there is no limit to the amount of media you can upload.
Accepted Media File Types:
Photo: .jpg, .jpe, .jpeg, .png, .gif
Video: .mov, .mkv, .mp4
Audio: .aiff, .m4a, .mp3, .ogg, .wav
To upload media:
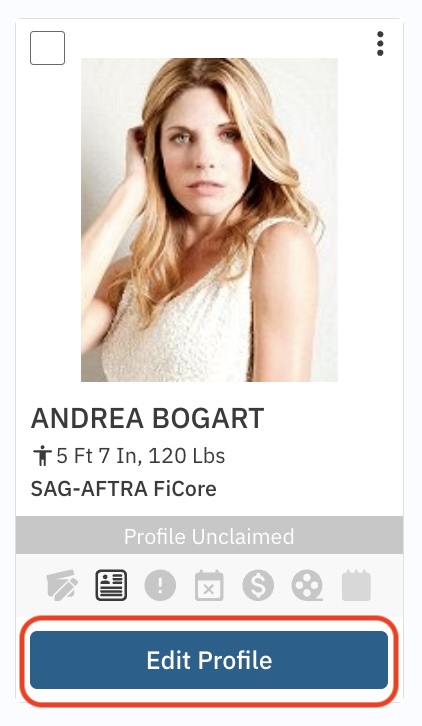
Find the profile under Talent and click Edit Profile below their photo.
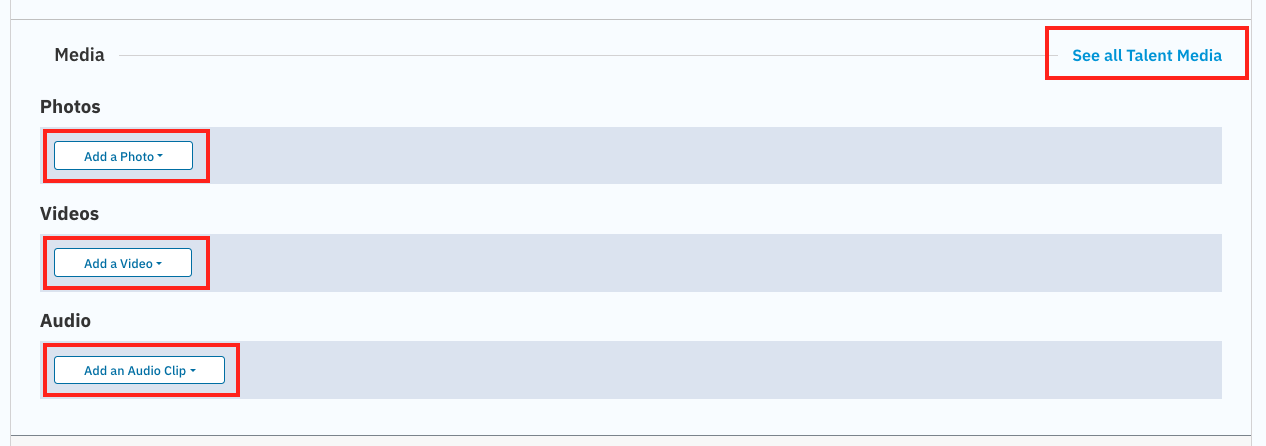
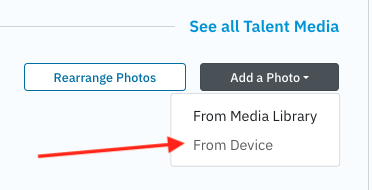
Select Add a Photo, Add a Video, or Add an Audio Clip. (You can also click See All in the media section to view the full media page).
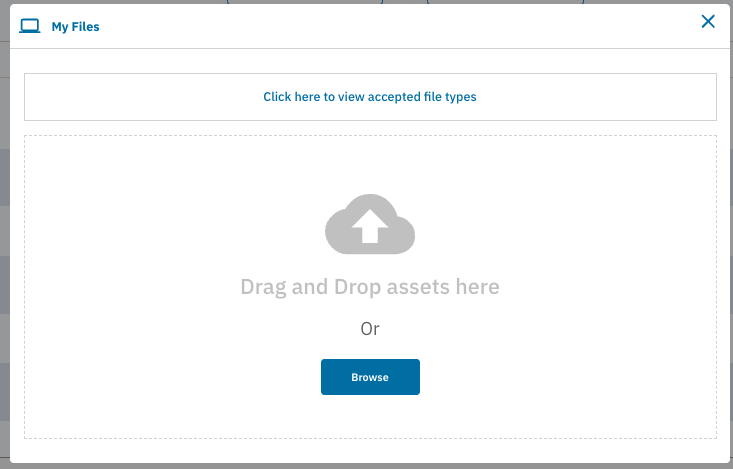
Select the media type you want to add and choose From Device.
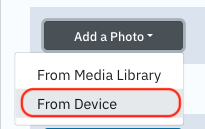
Drag and drop your files or browse your device to select them.
If the option to upload is greyed out, it means the talent has used all their free media credits. They will need to upgrade to a Premium Membership to add more.
Hiding Media
Talent representatives cannot delete or archive a talent’s media permanently. However, you can hide media so it does not appear on the profile.
To hide media:
Find the talent in the Talent section of your account.
Click Edit Profile below the talent’s photo.
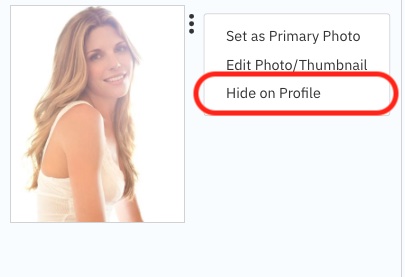
Scroll to find the specific photo or clip you want to hide.
Click the overflow menu (⋮) next to the file.
Select Hide on Profile.
Cropping Talent Photo
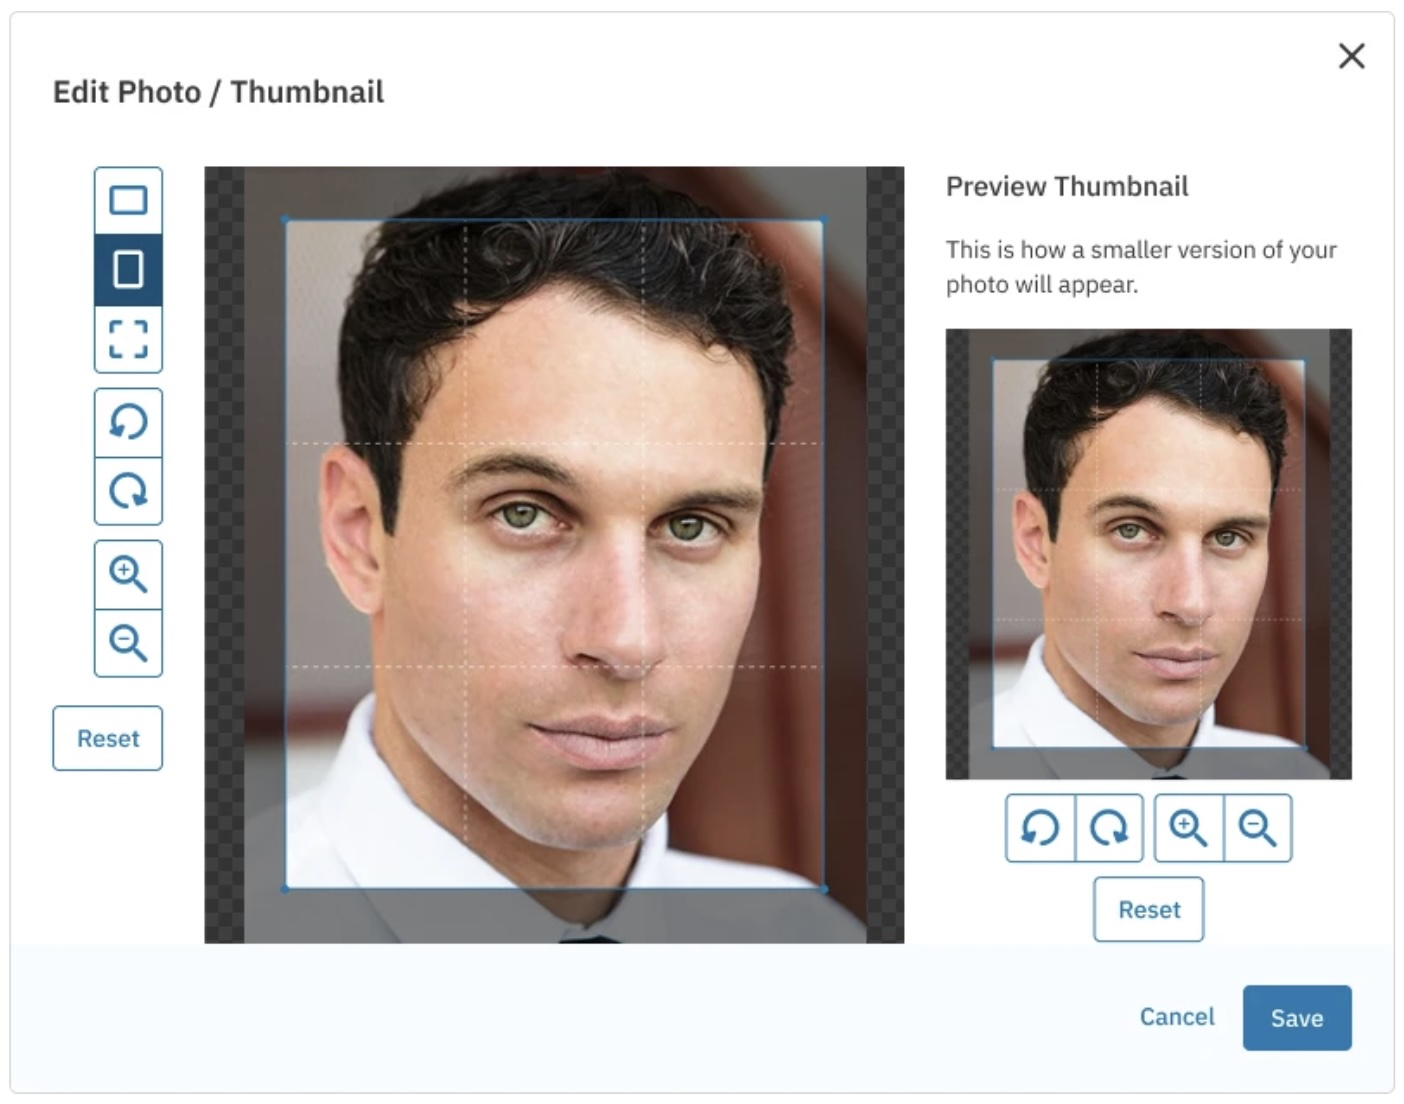
If you need to rotate, crop, or adjust the zoom of your Talent's photo's thumbnail, follow these instructions:
Find the profile under Talent and click Edit Profile below their photo.
Click the overflow menu (⋮) to the right of the photo you want to edit.
Select Edit Photo/Thumbnail.
Use the provided buttons to rotate, crop, or zoom in and out of your photo and its thumbnail.
When you are finished with your adjustments, click Save.
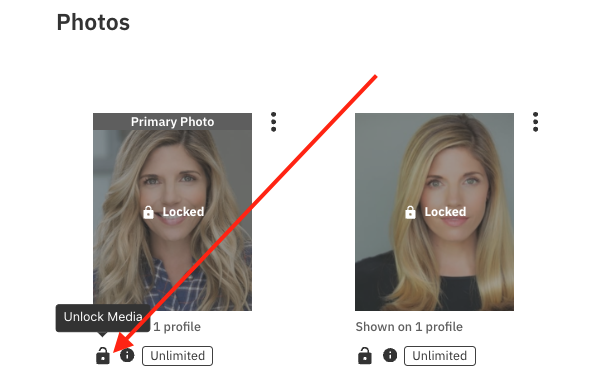
Why is media locked?
Casting Networks has moved away from a storage-based model. Talent with a Free Basic Membership receive a specific number of media credits (two photos, one video, and one audio clip) when creating a new account.
Once these free credits are redeemed, the chosen media is active. Any additional media uploaded previously or in the future will appear as "locked" unless the talent upgrades to a Premium Membership.
If a talent downgrades from Premium to a Free membership, all media except for their initial free uploads will become locked.
Can talent swap media?
Once a talent has used their initial free uploads, these specific files cannot be swapped out for new ones. However, you can hide them from the profile using the steps listed above.
Talent with Free Memberships cannot unlock media, they must upgrade to Premium to unlock additional content.
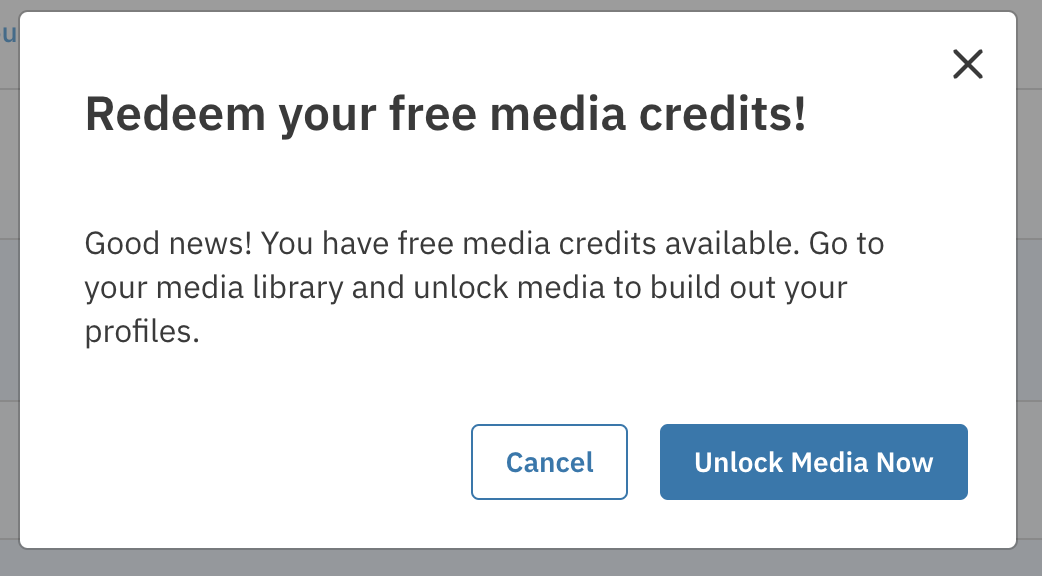
How do Talent unlock media?
If you or the talent want to activate a locked piece of media (either by using a free credit or via Premium membership), Talent follow these steps:
Log in to the account.
Navigate to Your Media.
Find the piece of locked media you want to display.
Click the three dots (overflow menu) next to the media item.
Select Unlock.