CASTING DIRECTORS: How do I create and manage Voice-Over roles?

Edited

This guide explains how Casting Directors can set up voice-over roles to streamline the process for Casting, Representatives, and Talent.


How do I create a Voice-Over role?

If you'd like to see the process explained in a video, watch this short tutorial:

  1. Create a project (any project type) as you normally would!

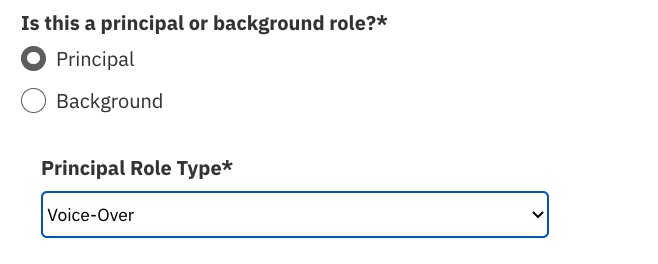
  2. Add a role to the project. Select Principal as the role type, and Voice-Over from the dropdown menu.

    A screenshot of an online form asking for details about an acting role. The question "Is this a principal or background role?*" has "Principal" selected via a radio button. Below this, the question "Principal Role Type*" shows a dropdown menu with "Voice-Over" selected.

  3. When you reach the "Submissions Requirements" section, the system will auto-select “Audio” as the media type requested in the submission.

    Note: This option cannot be removed when voice-over is selected as the role type. You MUST include media instructions to proceed (make sure to add sides to the role).

    A screenshot of a section of an online form titled "**7. Submission Requirements**."  * Under "**Submissions Due By***," the date and time "**July 29, 2022 11:30 PM**" is entered. * Under "**Time Zone***," the dropdown menu shows "**(GMT-07:00) Pacific Time - Los Angeles**" is selected. * To the right, the section "**Ask talent to include media with submissions**" has a checkbox for "**Audio**" selected, while "**Photo**" and "**Video**" are unchecked. * There are also two large, empty text boxes for "**Instructions for Submission Note**" and another for "**Ask talent to include media with submissions***" (note the asterisk indicating a required field, possibly for a descriptive note related to the required media).

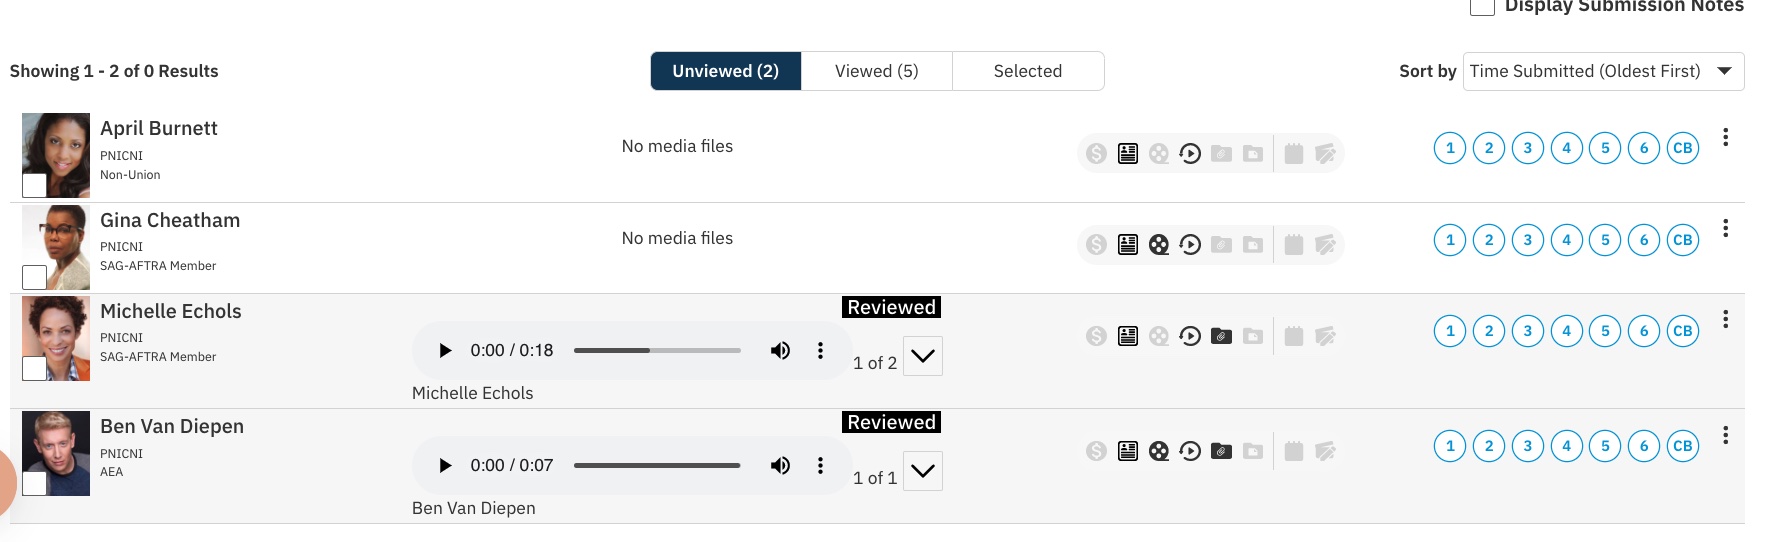
How do I review Voice-Over submissions?

  1. When reviewing your role submissions, you can listen to audio files attached without having to open the profiles.

    A screenshot displaying a list of four talent submissions in an online casting system.  * The header shows "**Showing 1 - 2 of 0 Results**" (note the apparent contradiction in the numbers). * Tabs for sorting are visible: "**Unviewed (2)**" (selected and highlighted), "**Viewed (5)**," and "**Selected**." * The submissions are sorted by "**Time Submitted (Oldest First)**." * The first two submissions, from **April Burnett** (Non-Union) and **Gina Cheatham** (SAG-AFTRA Member), have the note "**No media files**." * The third submission, from **Michelle Echols** (SAG-AFTRA Member), is marked "**Reviewed**" and includes an audio file with a duration of **0:18** and playback controls. * The fourth submission, from **Ben Van Diepen** (AEA), is also marked "**Reviewed**" and includes an audio file with a duration of **0:07** and playback controls. * All submissions have a series of numbered circles (1 through 6, plus "CB") and a vertical ellipsis icon on the right, likely for rating and additional options.

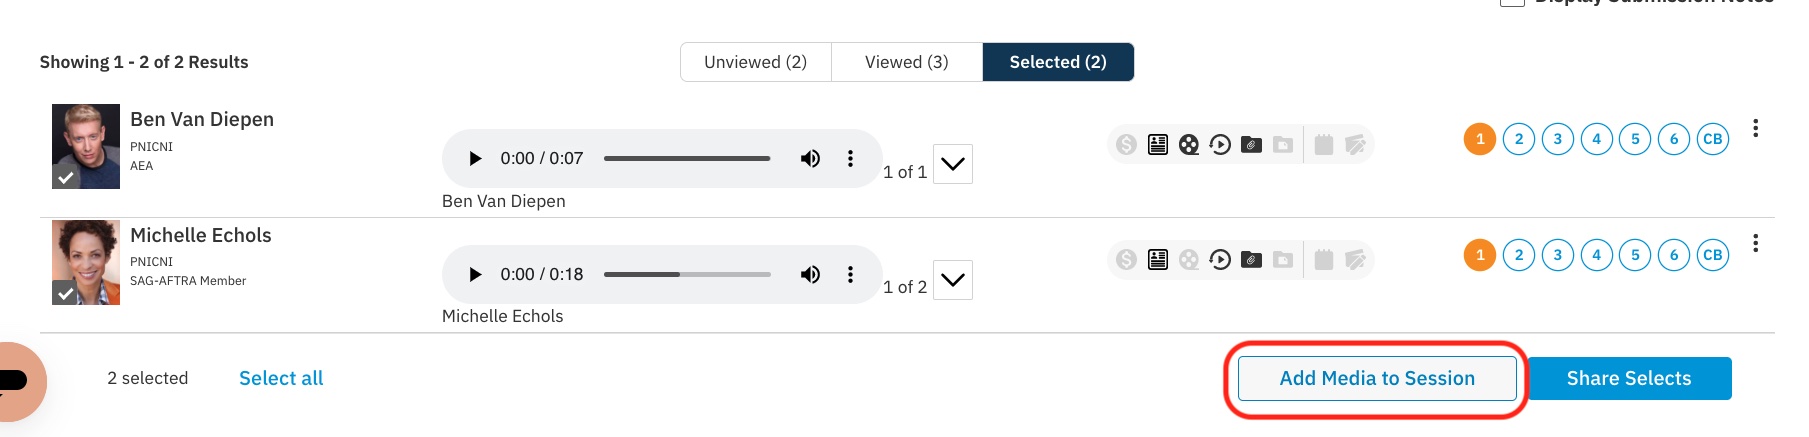
  2. Once you select talent from submissions, navigate to the selected tab.

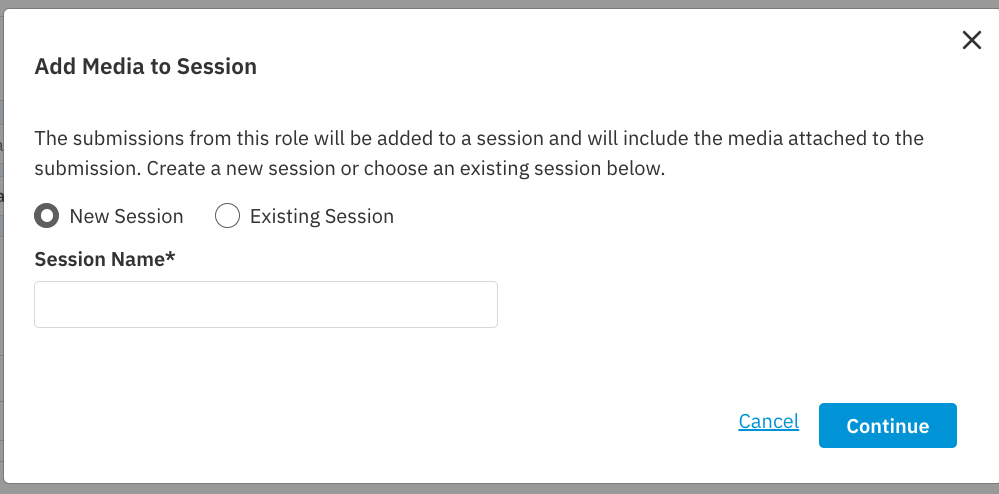
  3. You can either share selects OR add the talent and media directly to a Session.

    A screenshot of a section of an online casting form showing two submissions that have been moved to the "**Selected (2)**" tab.  * The first listed submission is for **Ben Van Diepen** (AEA), who has an audio file of **0:07** seconds. * The second submission is for **Michelle Echols** (SAG-AFTRA Member), who has an audio file of **0:18** seconds. * Both talent profiles show a checked box indicating they are selected. * At the bottom of the screen, a section indicates "**2 selected**" with a link to "**Select all**." * The key element is a prominent button outlined in red that reads, "**Add Media to Session**," which is next to a button that says "**Share Selects**."

  4. You can add the media to an existing session or create a new one!

    A dialog box titled "**Add Media to Session**." The text explains that the submissions from the role will be added to a session and will include the media attached to the submission. The user is prompted to "**Create a new session or choose an existing session below**."  * The option "**New Session**" is selected by default with a radio button. * The alternative option is "**Existing Session**." * Below the options is a required field (*****) for "**Session Name**" which is currently empty. * At the bottom, there are buttons to "**Cancel**" and "**Continue**."

Was this article helpful?

Sorry about that! Care to tell us more?

Thanks for the feedback!

There was an issue submitting your feedback
Please check your connection and try again.