
CASTING DIRECTORS: What are Sessions and How Do I Manage Media Within One?
This article explains the purpose of the Sessions tab, how to upload and rename media, and what tracking information is available to ensure you are managing your project content effectively.
Overview of Sessions
The Sessions area is designed to be your central hub for project media. It acts as the repository for all media in your project.
In this tab, you are able to:
View all audition footage that has been uploaded to any project.
Add new audition media directly to a project, including video, audio, or photos.
This article explains how to create a new session within their account.
Creating a New Session
From the Casting Networks site, you can easily set up a new session to start managing your project. Here is how to get started:
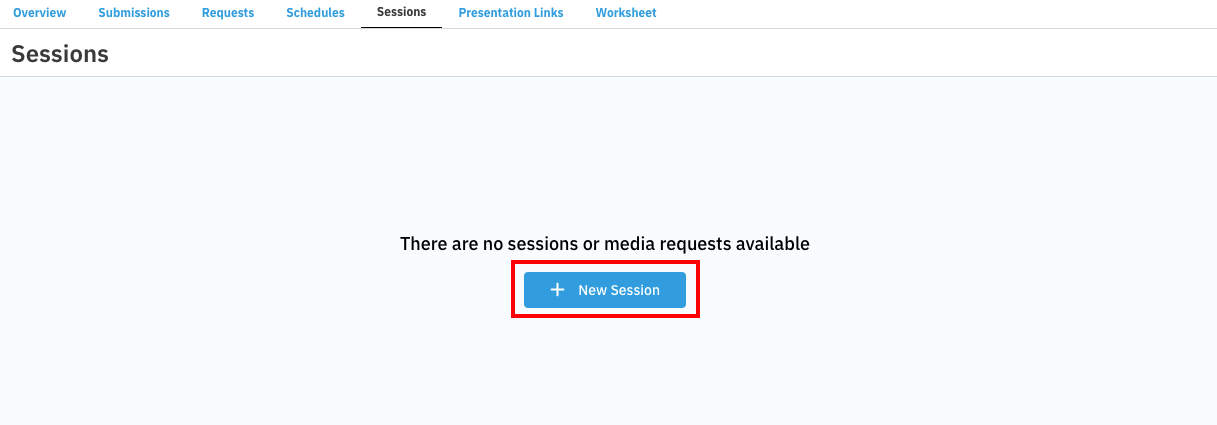
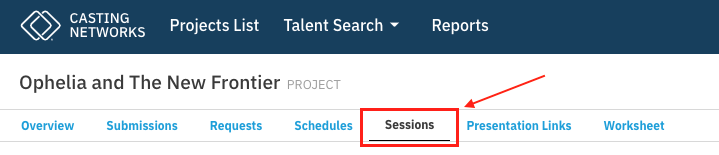
Navigate to the Sessions section of your account.
Click + New Session.
Give the session a name.
Begin adding groups, talent, and media.
Adding Media to a Session
You can easily add new content to your project groups. Follow the steps below to upload files.
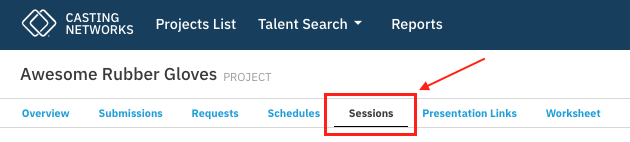
Click Sessions.
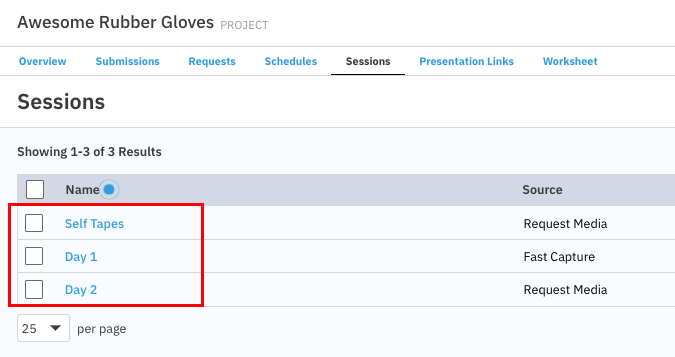
Select an existing session, or create a new one.
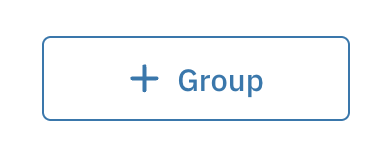
Click + Group.
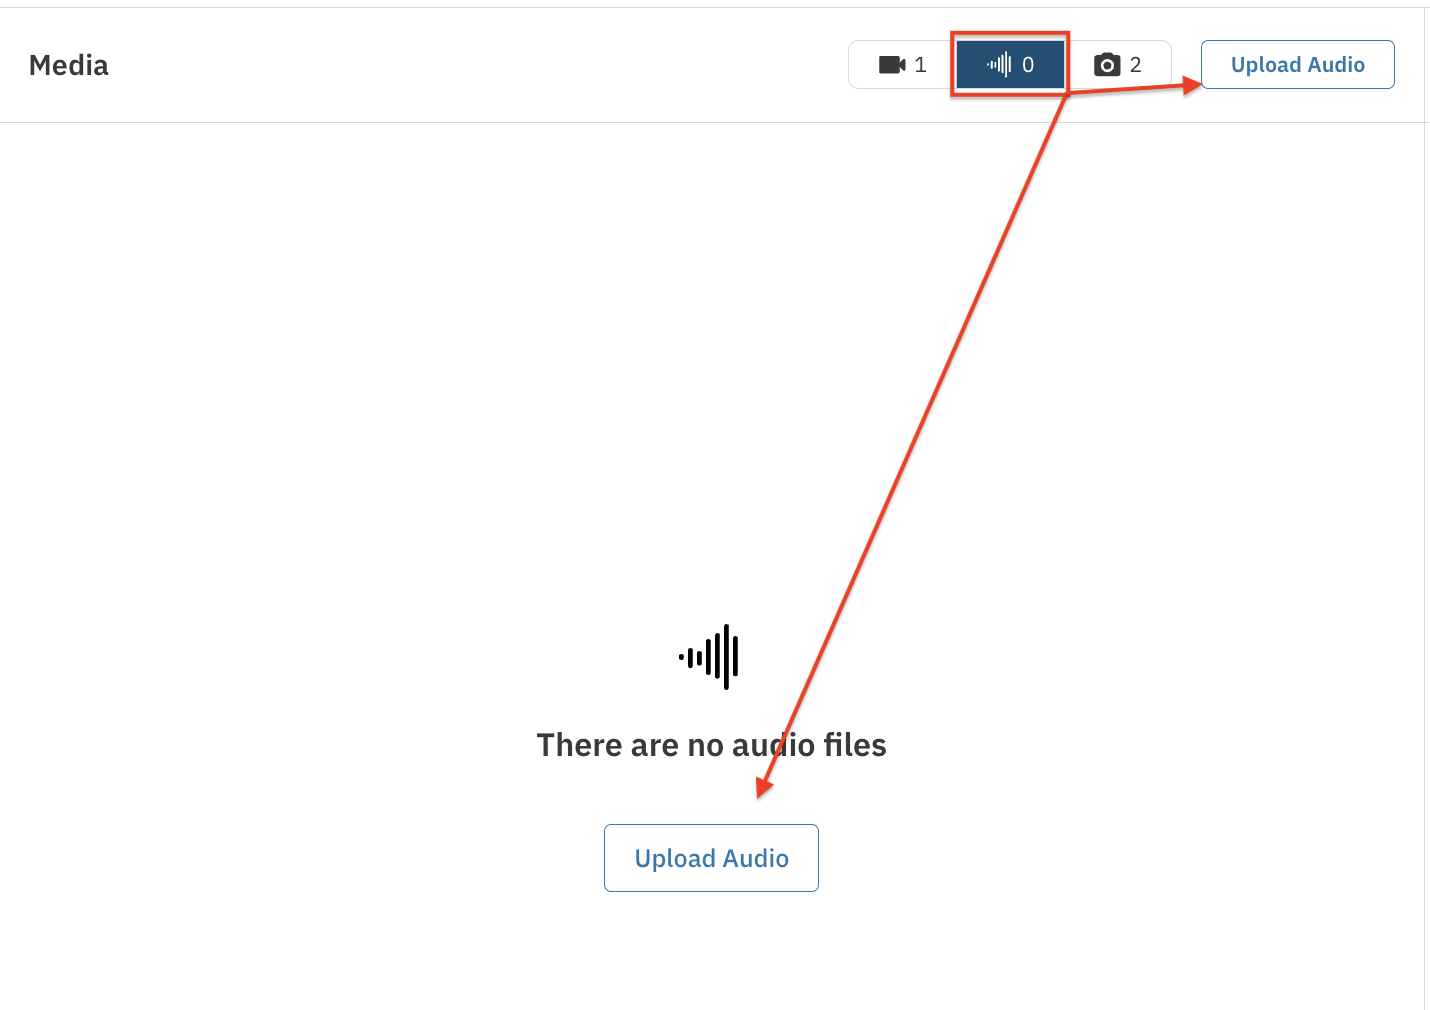
Select the type of media (Video, Audio, Photos) and upload your files.
Renaming Media
If you need to update filenames to keep your repository organized, you can rename videos, audio, or photos directly within a session.
Click Sessions in your project.
Click the name of the session you wish to edit.
Click on the specific group.
Click the Video tab
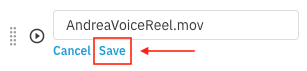
Click Rename next to the piece of media you would like to update.

Select Save to confirm your changes.
Changing a Talent's Snapshot
You can update the primary display image (snapshot) for a talent within a specific project session.
Go to your project and select the Sessions tab.
Select the specific session you wish to edit.
Choose the group that contains the talent you would like to change the snapshot for.
You can set the Snapshot using either a photo or a video frame:
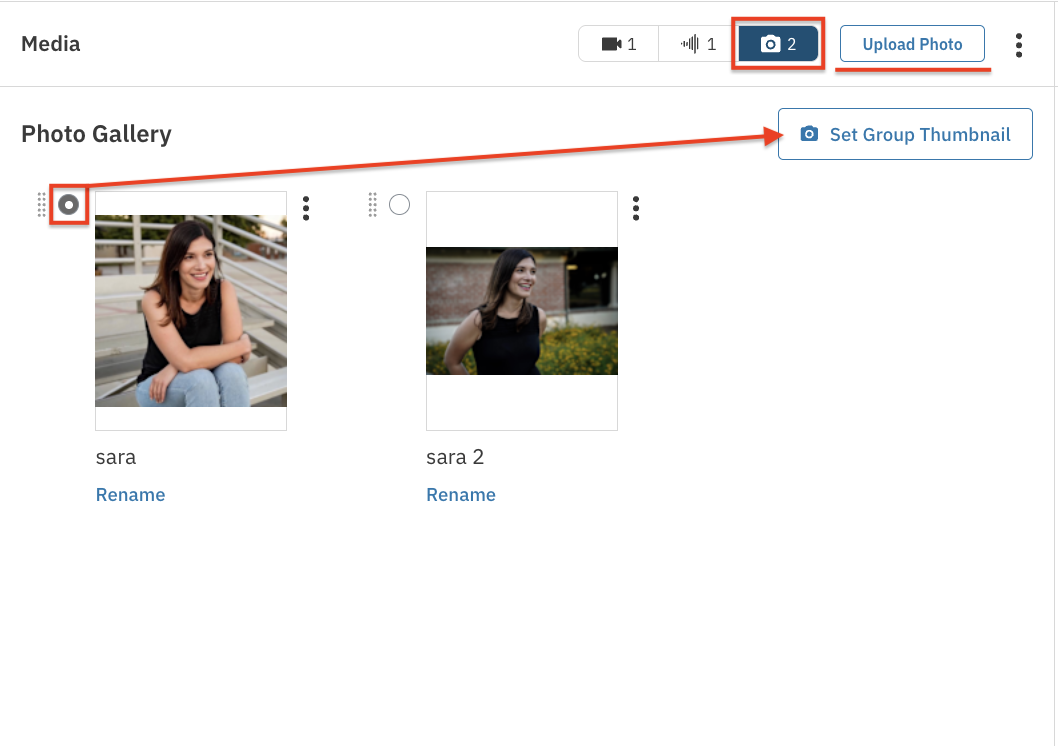
From a Photo: Go to the Photos tab. If necessary, click the Upload Photo button to add a new image. Select the photo you want to use as the snapshot.
From a Video: Go to the Videos tab. If necessary, click the Upload Video button to add a new video. Scrub through the video player until you find the specific frame you want to use.
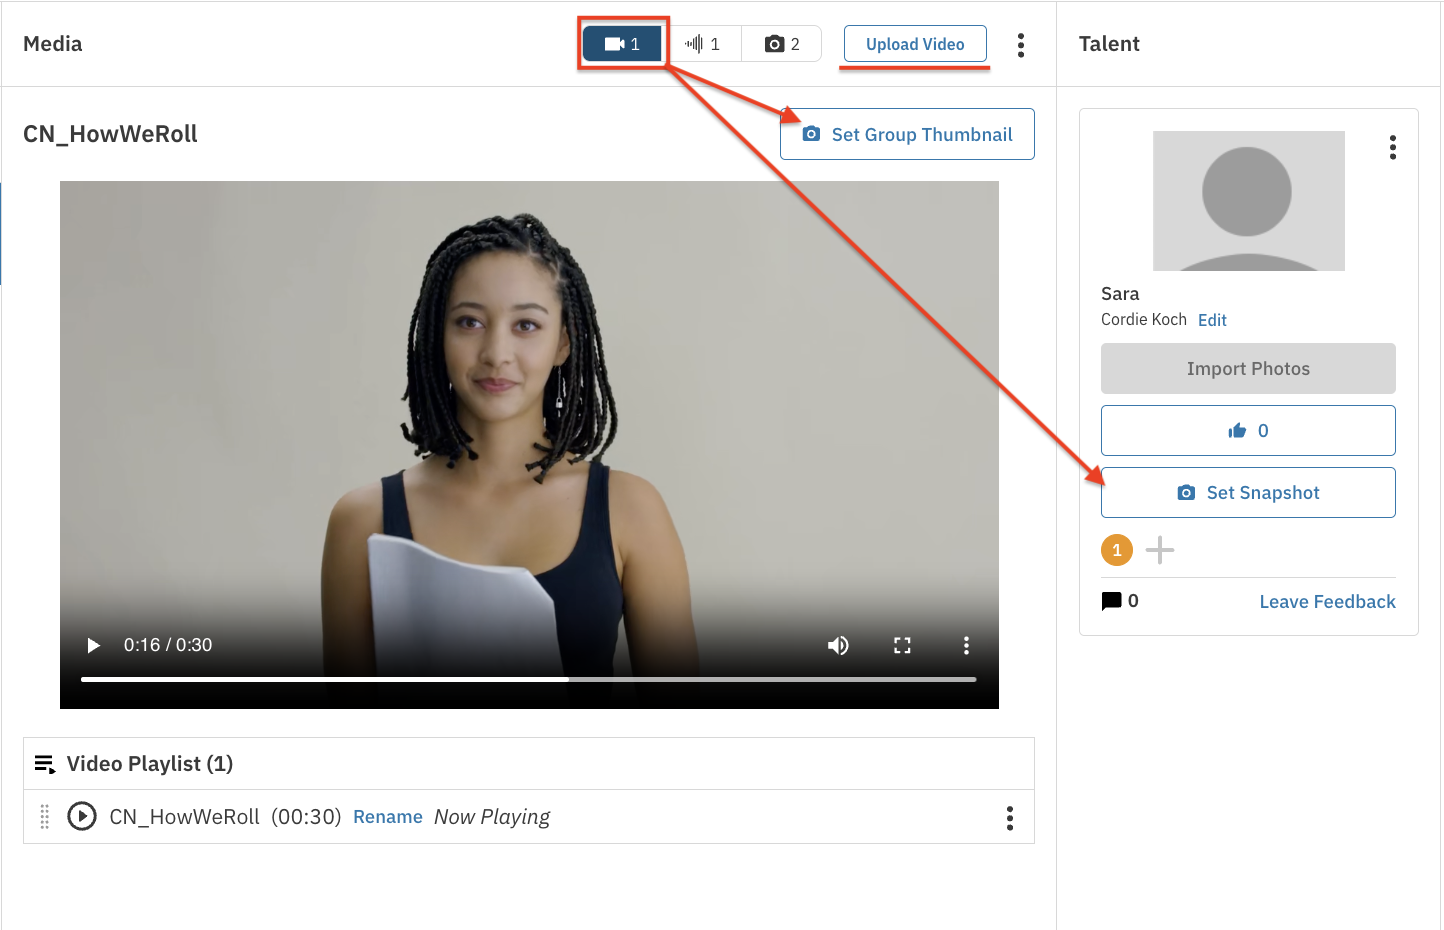
Look for the Talent section on the right-hand side of the screen. Click the Set Snapshot button located under the talent you want to update.
Media and Upload Details
To help keep your projects organized, specific data regarding your files is available in this tab. In addition to a list of all audition (or session) names, you will find:
Information on how the media was captured or uploaded.
The specific date the activity occurred.
Details regarding who performed the upload.