
CASTING DIRECTORS: How do I Create and Share Presentation Links?
This article explains how to build presentations to share talent media, organize them using folders, and share the final link with your clients. It also covers the client viewing experience, including how to preview the presentation and generate reports.

Creating a Presentation
You can create presentations directly from your Sessions or by setting up a new link in your Presentation Links tab.
Creating a Presentation from Sessions
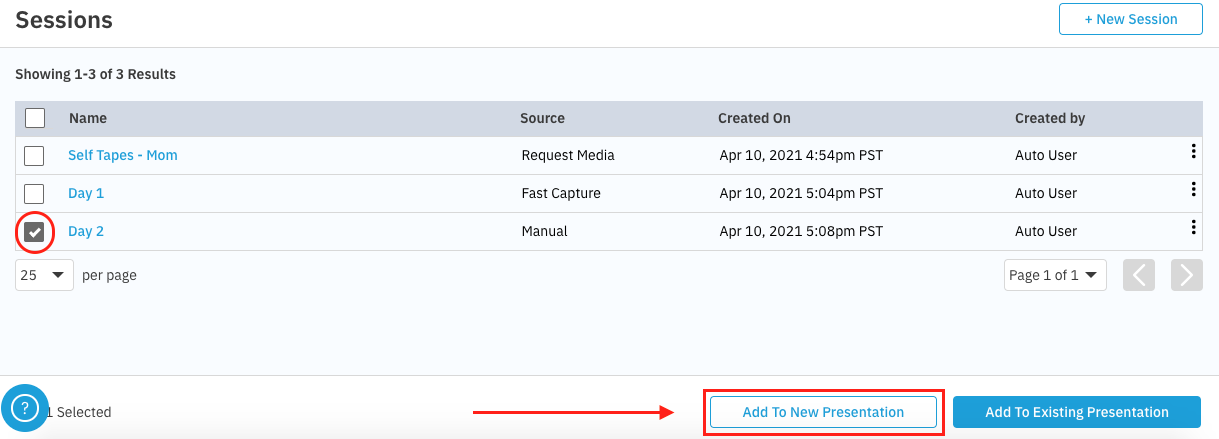
Click the session you would like to use.
Select the specific talent or groups of talent you want to include.
Select Add to New Presentation.
Creating a Presentation from Presentation Links
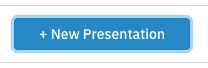
On the Presentation page, select + New Presentation.
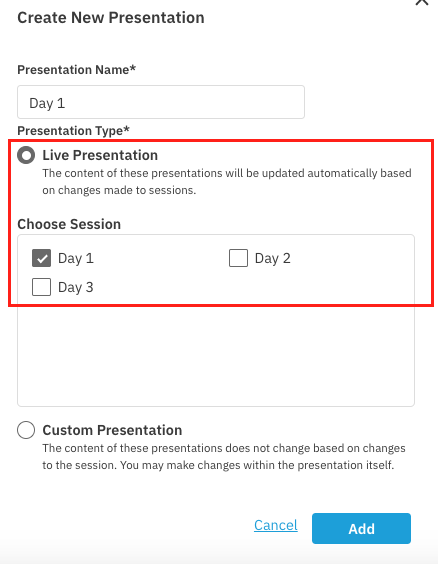
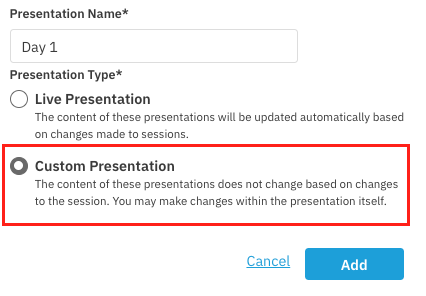
Give the presentation a name, choose your presentation type, and select Add.
Live Presentation: The content updates automatically based on changes made to the session. We recommend this option because it keeps your presentation up to date automatically.
Custom Presentation: The content does not change based on session updates. You can make changes directly within the presentation itself.
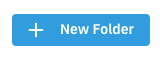
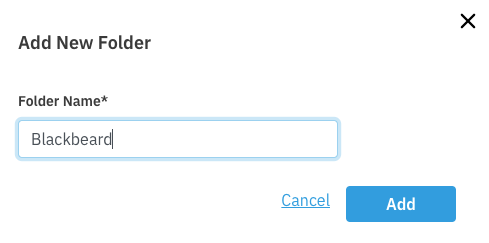
Select + New Folder, give it a name, and select Add.
Add your content using one of these methods:
Add an empty group and upload media.
Navigate to Sessions and select content gathered from FastCapture or Requested Media.
Using Folders to Organize Media
Folders are the tool used to organize your media within presentations for your clients. To ensure you can present your talent in the best light possible, you have full control over the naming and organization of the folders.
Common Uses for Folders
While you can customize your organization method to fit your specific workflow, common uses for folders include:
Filter by Day: Organizing uploads chronologically (e.g., Day 1, Day 2, etc.).
Filter by Role: Grouping talent by the character they are reading for (e.g., Hero Male, Hero Female).
Indicate Selected Talent: Sorting talent based on casting preference (e.g., First Choices, Backups, etc.).
Previewing and Sharing Presentation Links
How can I preview a presentation link before sending it?
Once you have built your presentation, you can view it exactly as your client will see it.
Go to the Presentation Links tab for your project.
Select the presentation you wish to view.
Click the Preview button located in the bottom right corner.
This will open a new tab in your browser displaying a preview of the presentation link.

How can I share a presentation link?
When you are ready to send the presentation to a client, follow these steps:
Go to the Presentation Links tab for your project.
Select the specific presentation.
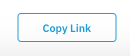
Click the Copy Link button located in the bottom right corner.
The presentation link is now copied to your clipboard. We recommend pasting this link directly into an email to share it with your clients.
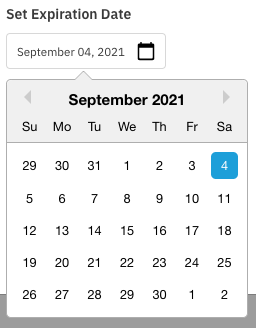
Setting an Expiration Date
Expirations dates are designed to help you extend or shorten the availability of a presentation link you have already shared.
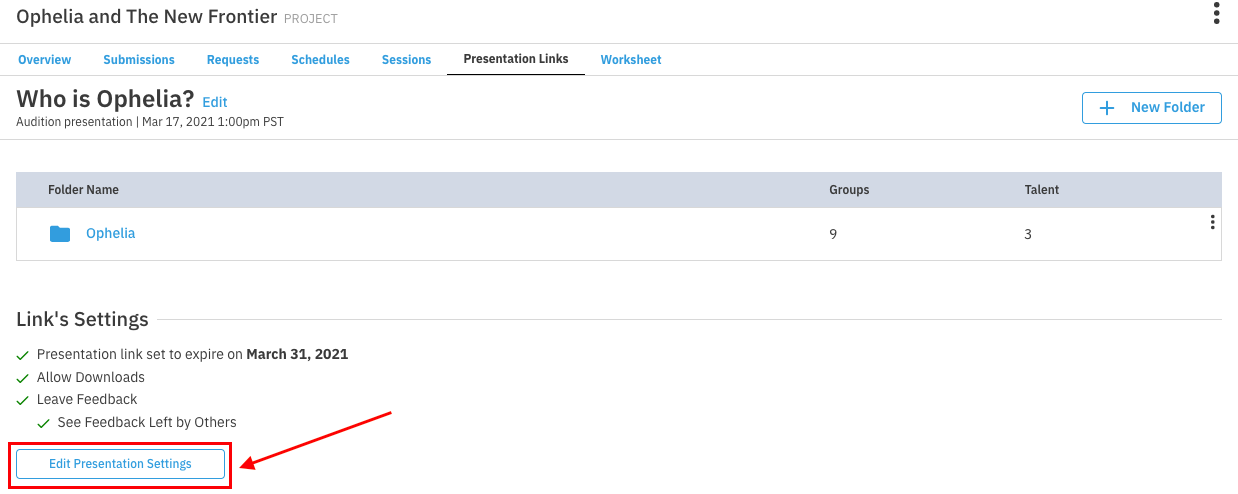
Navigate to Presentations, select the desired presentation, and scroll the page until you see the Link’s Security Settings.
Click Edit Security Settings.
Update the expiration date of the presentation to your desired timeframe.
When ready, click Update.
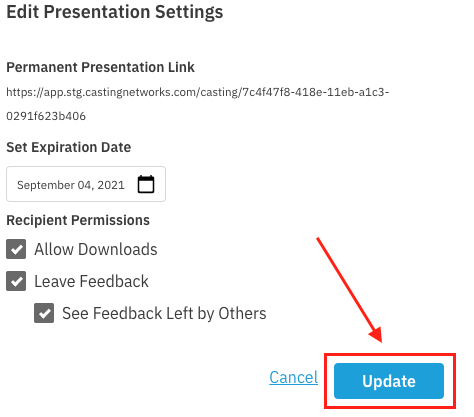
Once a presentation’s expiration date has passed, that presentation will no longer display any media and will instead show that this presentation is no longer available.
How to Enable the Sidebar View
This is an opt-in feature. Your existing presentations are not affected, and the grid layout remains the default for any presentation not configured to use the sidebar view.
There are two ways to enable it:
Per presentation: Open the presentation link page and select Edit Presentation Settings to enable the Sidebar Presentation View for that specific presentation.
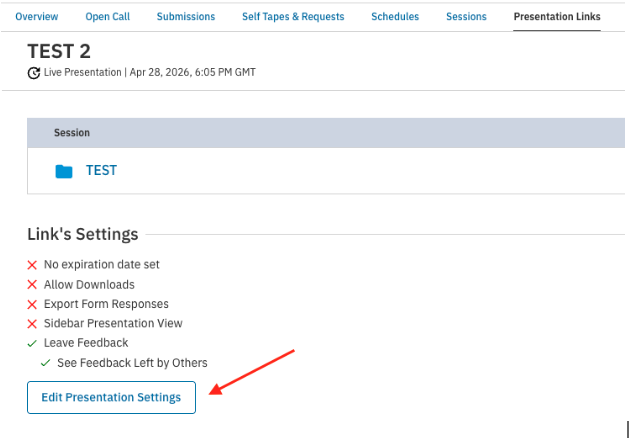
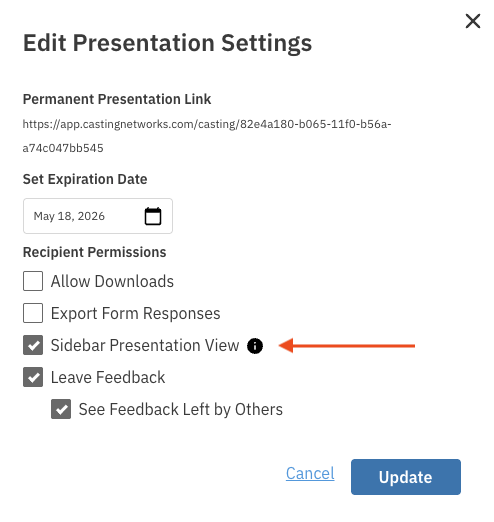
As your organization default: If you would like all new presentations in your organization to use the sidebar view by default, contact Casting Networks support. This setting is configured at the organization level and does not retroactively change any existing presentations.
Understanding the Client Experience
This section outlines what your clients and collaborators see when they receive a presentation link, including how they view media, leave feedback, and generate reports.
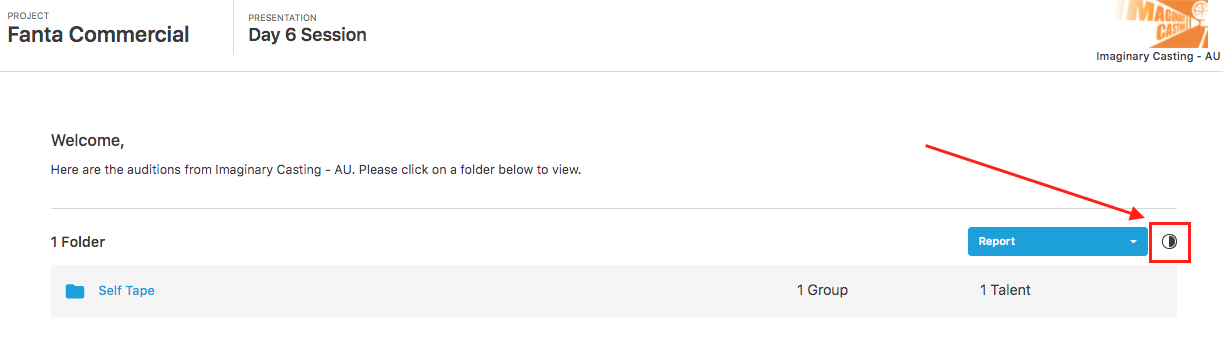
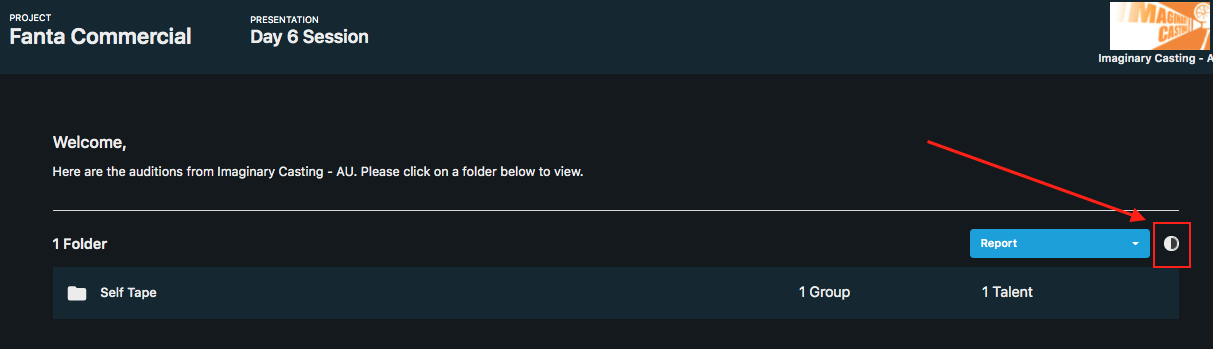
Dark Mode and Light Mode
By default, all presentations load in "Dark Mode." However, users can easily switch to "Light Mode" based on their viewing preference. To activate Light Mode, click the circle icon (half white/half black) located on the right-hand side of the presentation.
Viewing Talent and Leaving Feedback
Clients can click on any folder to view its contents. They can filter the view by Folders, Roles, Comments, or Picks.

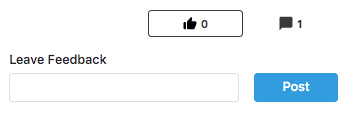
To make a pick or leave feedback:
Select the Thumbs-Up icon or type notes into the Leave Feedback bubble and press Post. The first time feedback is left, the system will ask the user to enter their name.
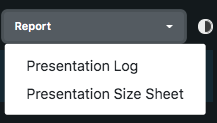
Generating Reports
Clients can generate "Presentation Log" and "Presentation Size Sheets" reports while viewing a presentation.
Click on the Report dropdown menu.
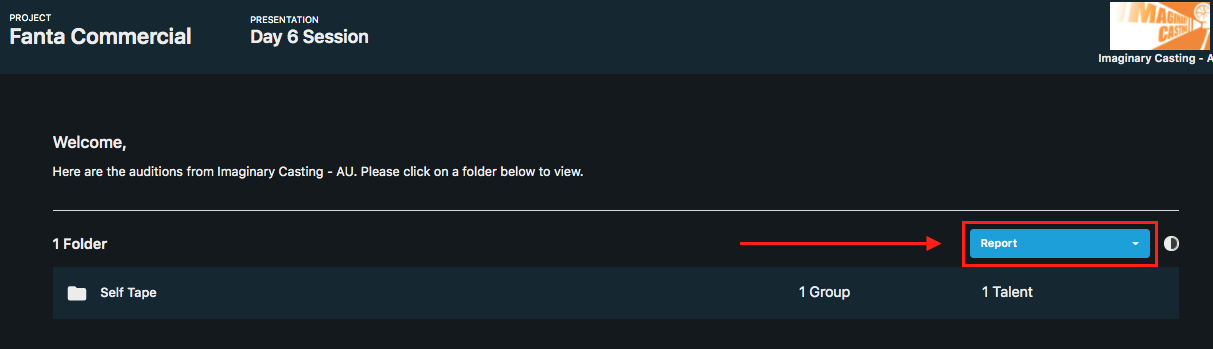
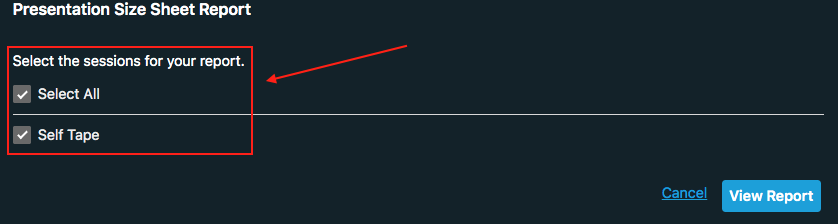
Choose which report to generate (Presentation Log or Presentation Size Sheet).
Choose which group (or groups) to generate the report for.
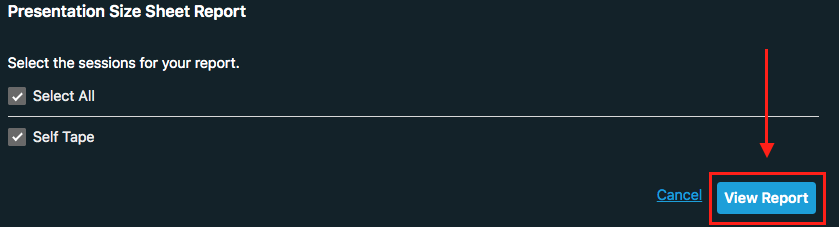
Click View Report to generate the report in a new tab.
If your clients have further questions, you can share the specific client-facing help articles found in the Help Center.