
CASTING DIRECTORS: How do I use the Collaborators feature?
This article is for Casting Directors who need to bring additional help onto specific projects. The Collaborators feature allows you to loop in freelancers, camera operators, and session runners to work on individual projects. This ensures your team has the permissions they need—like creating sessions and sharing presentations—without granting them full access to your company's main account.
What can Collaborators do?
Collaborators are granted specific permissions to help move your project forward. Once added, they can:
View the Project Overview: Access all project information and role details but can not make edits.
View the Schedules: Access all project schedules but can not make edits.
Manage Sessions: Create new sessions and view or edit existing ones.
Manage Presentations: View, create, edit, and share presentation links with clients.
How do I add a Collaborator?
You can add users directly from your project list. If the person you are adding already has a Casting Networks account, use the email address linked to that account. If they do not have an account, the invitation email will guide them through creating one.
Log in to your account and navigate to your Projects List.
Hover over the name of the specific project to view your menu options.
Select Collaborators from the right side of the menu (or click the "Collaborators" text within the project menu bar).

Click the blue + Add Collaborator button.

Enter the email address linked to the collaborator’s account and click Invite Collaborator.
The user will receive a confirmation email. Once confirmed, they are linked to your project.
How do I remove a Collaborator?
You can remove a collaborator from a single project or revoke their access from your company entirely.
Removing from a Single Project
Open the specific project and click on the Collaborators tab.
Click the X to the right of the collaborator's name to remove them.

Removing from All Projects
Click on the Collaborators tab located at the very top of your screen (main navigation).

Click the three vertical dots next to the collaborator’s name.
Select Revoke access from all projects.

What does the Collaborator experience look like?
It is helpful to know what your team sees once you invite them.
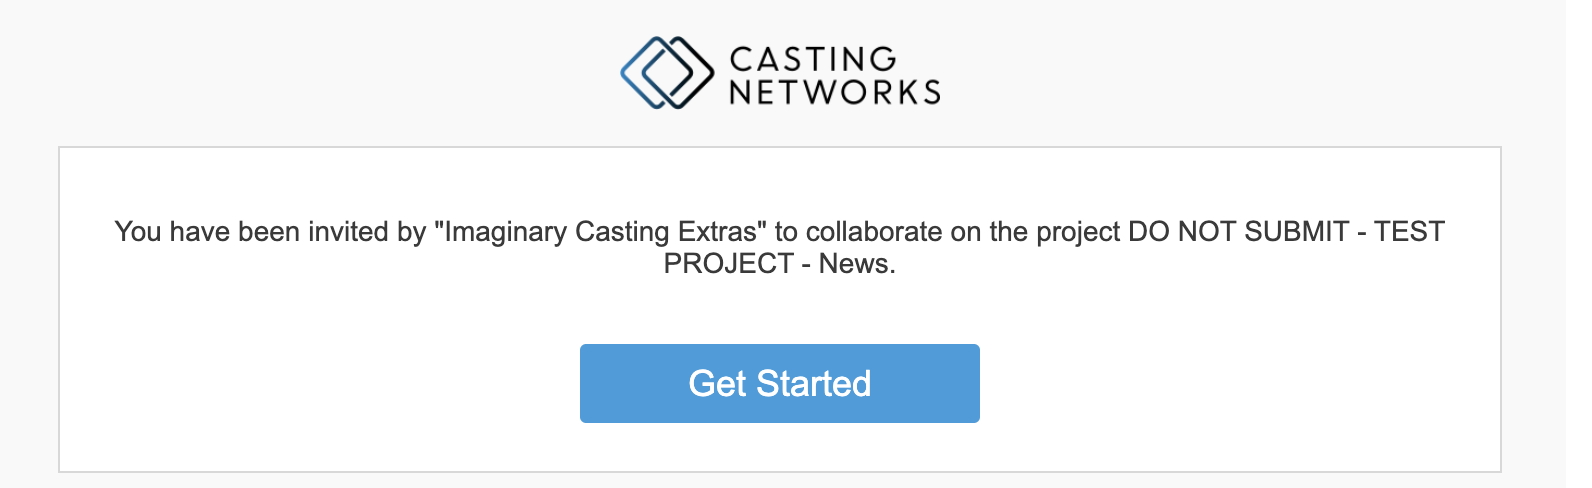
Accepting the Invite
Collaborators receive an email invitation. They must open this email and click Get Started to link their account to your project.
Using Sessions
Collaborators can handle the heavy lifting for sessions.
Create New: In the Sessions tab, they can click New Session, name it, and organize groups.
Edit Existing: They can open and edit sessions you have already started.
Using Presentations
Collaborators can also prepare client presentation links.
Create New: By clicking New Presentation, they can name the presentation and add talent to share with clients.
Share: They have the ability to generate links to share presentations externally.